Problem
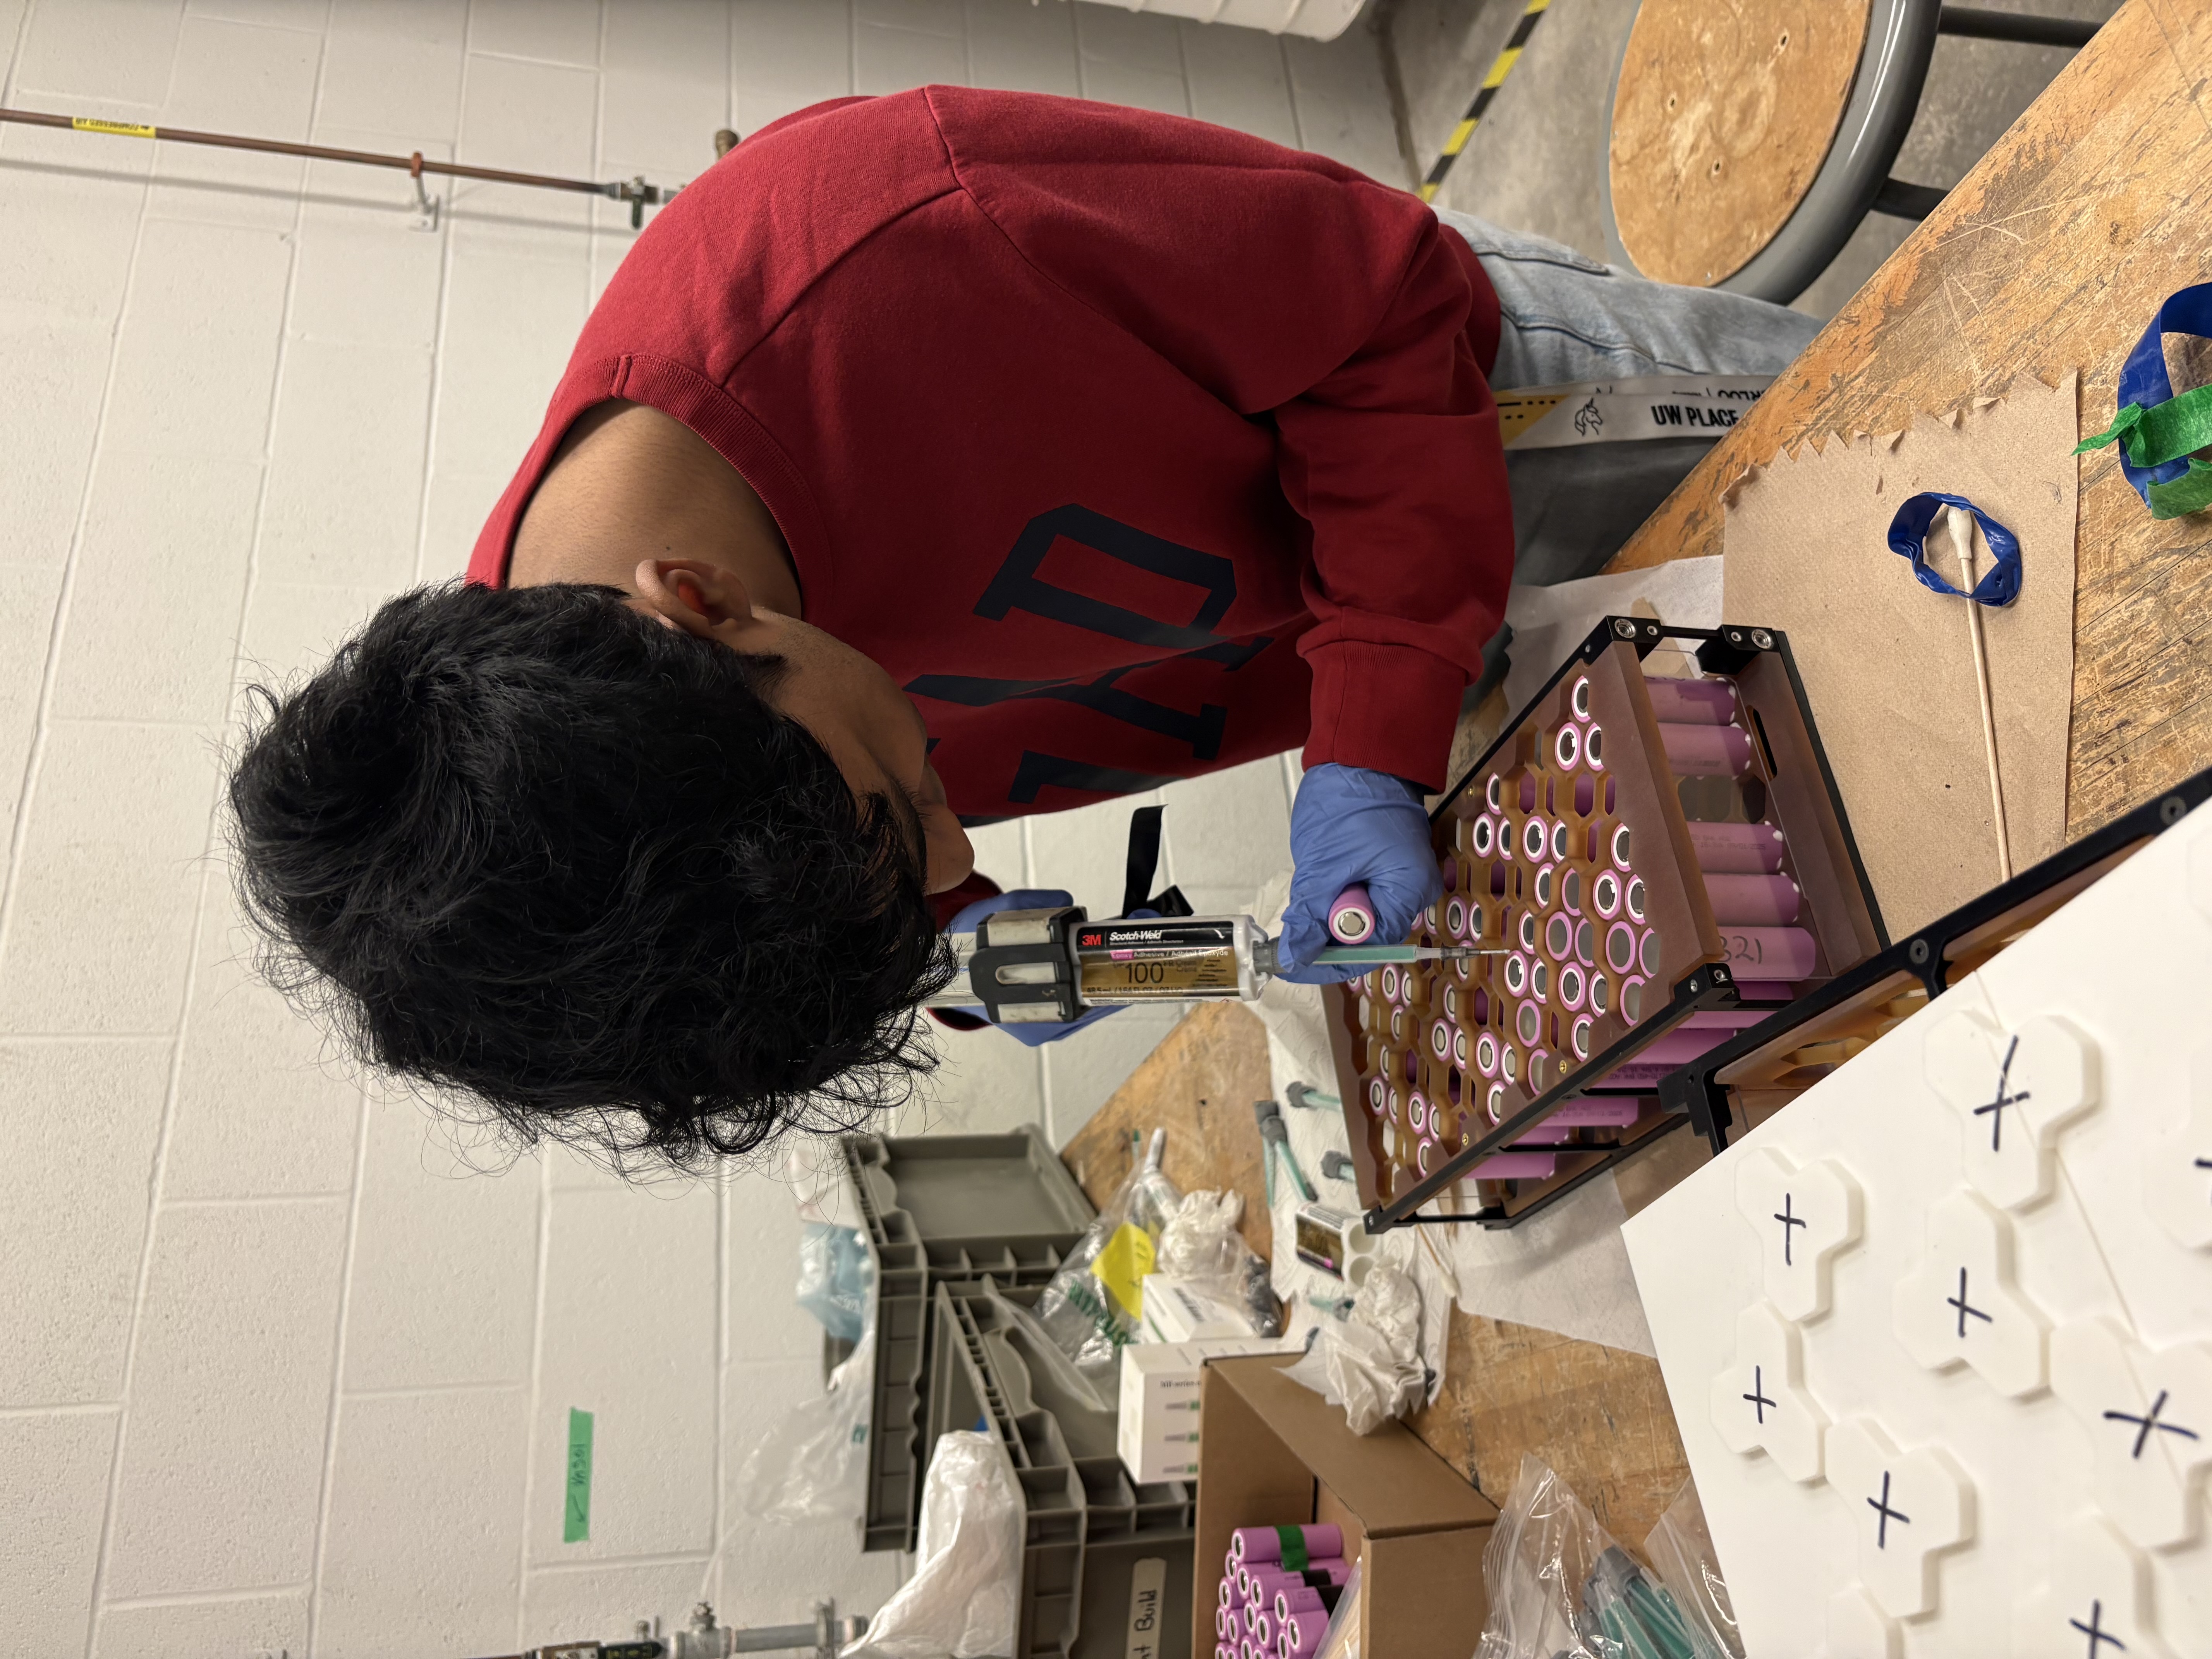
We found multiple dead cells across several battery-pack segments. This is an ongoing issue, and we are still in the root-cause-analysis process to determine why the cells failed. Possible causes include a bad production batch, faulty BMS boards, blown CIDs, or another failure mechanism.
Nonetheless, we had to replace the dead cell groups in our existing segments to compete in Michigan FSAE EV, which was less than three days away. Each group consists of three cells. Groups are connected in series using a SIGMACLAD 60 busbar.
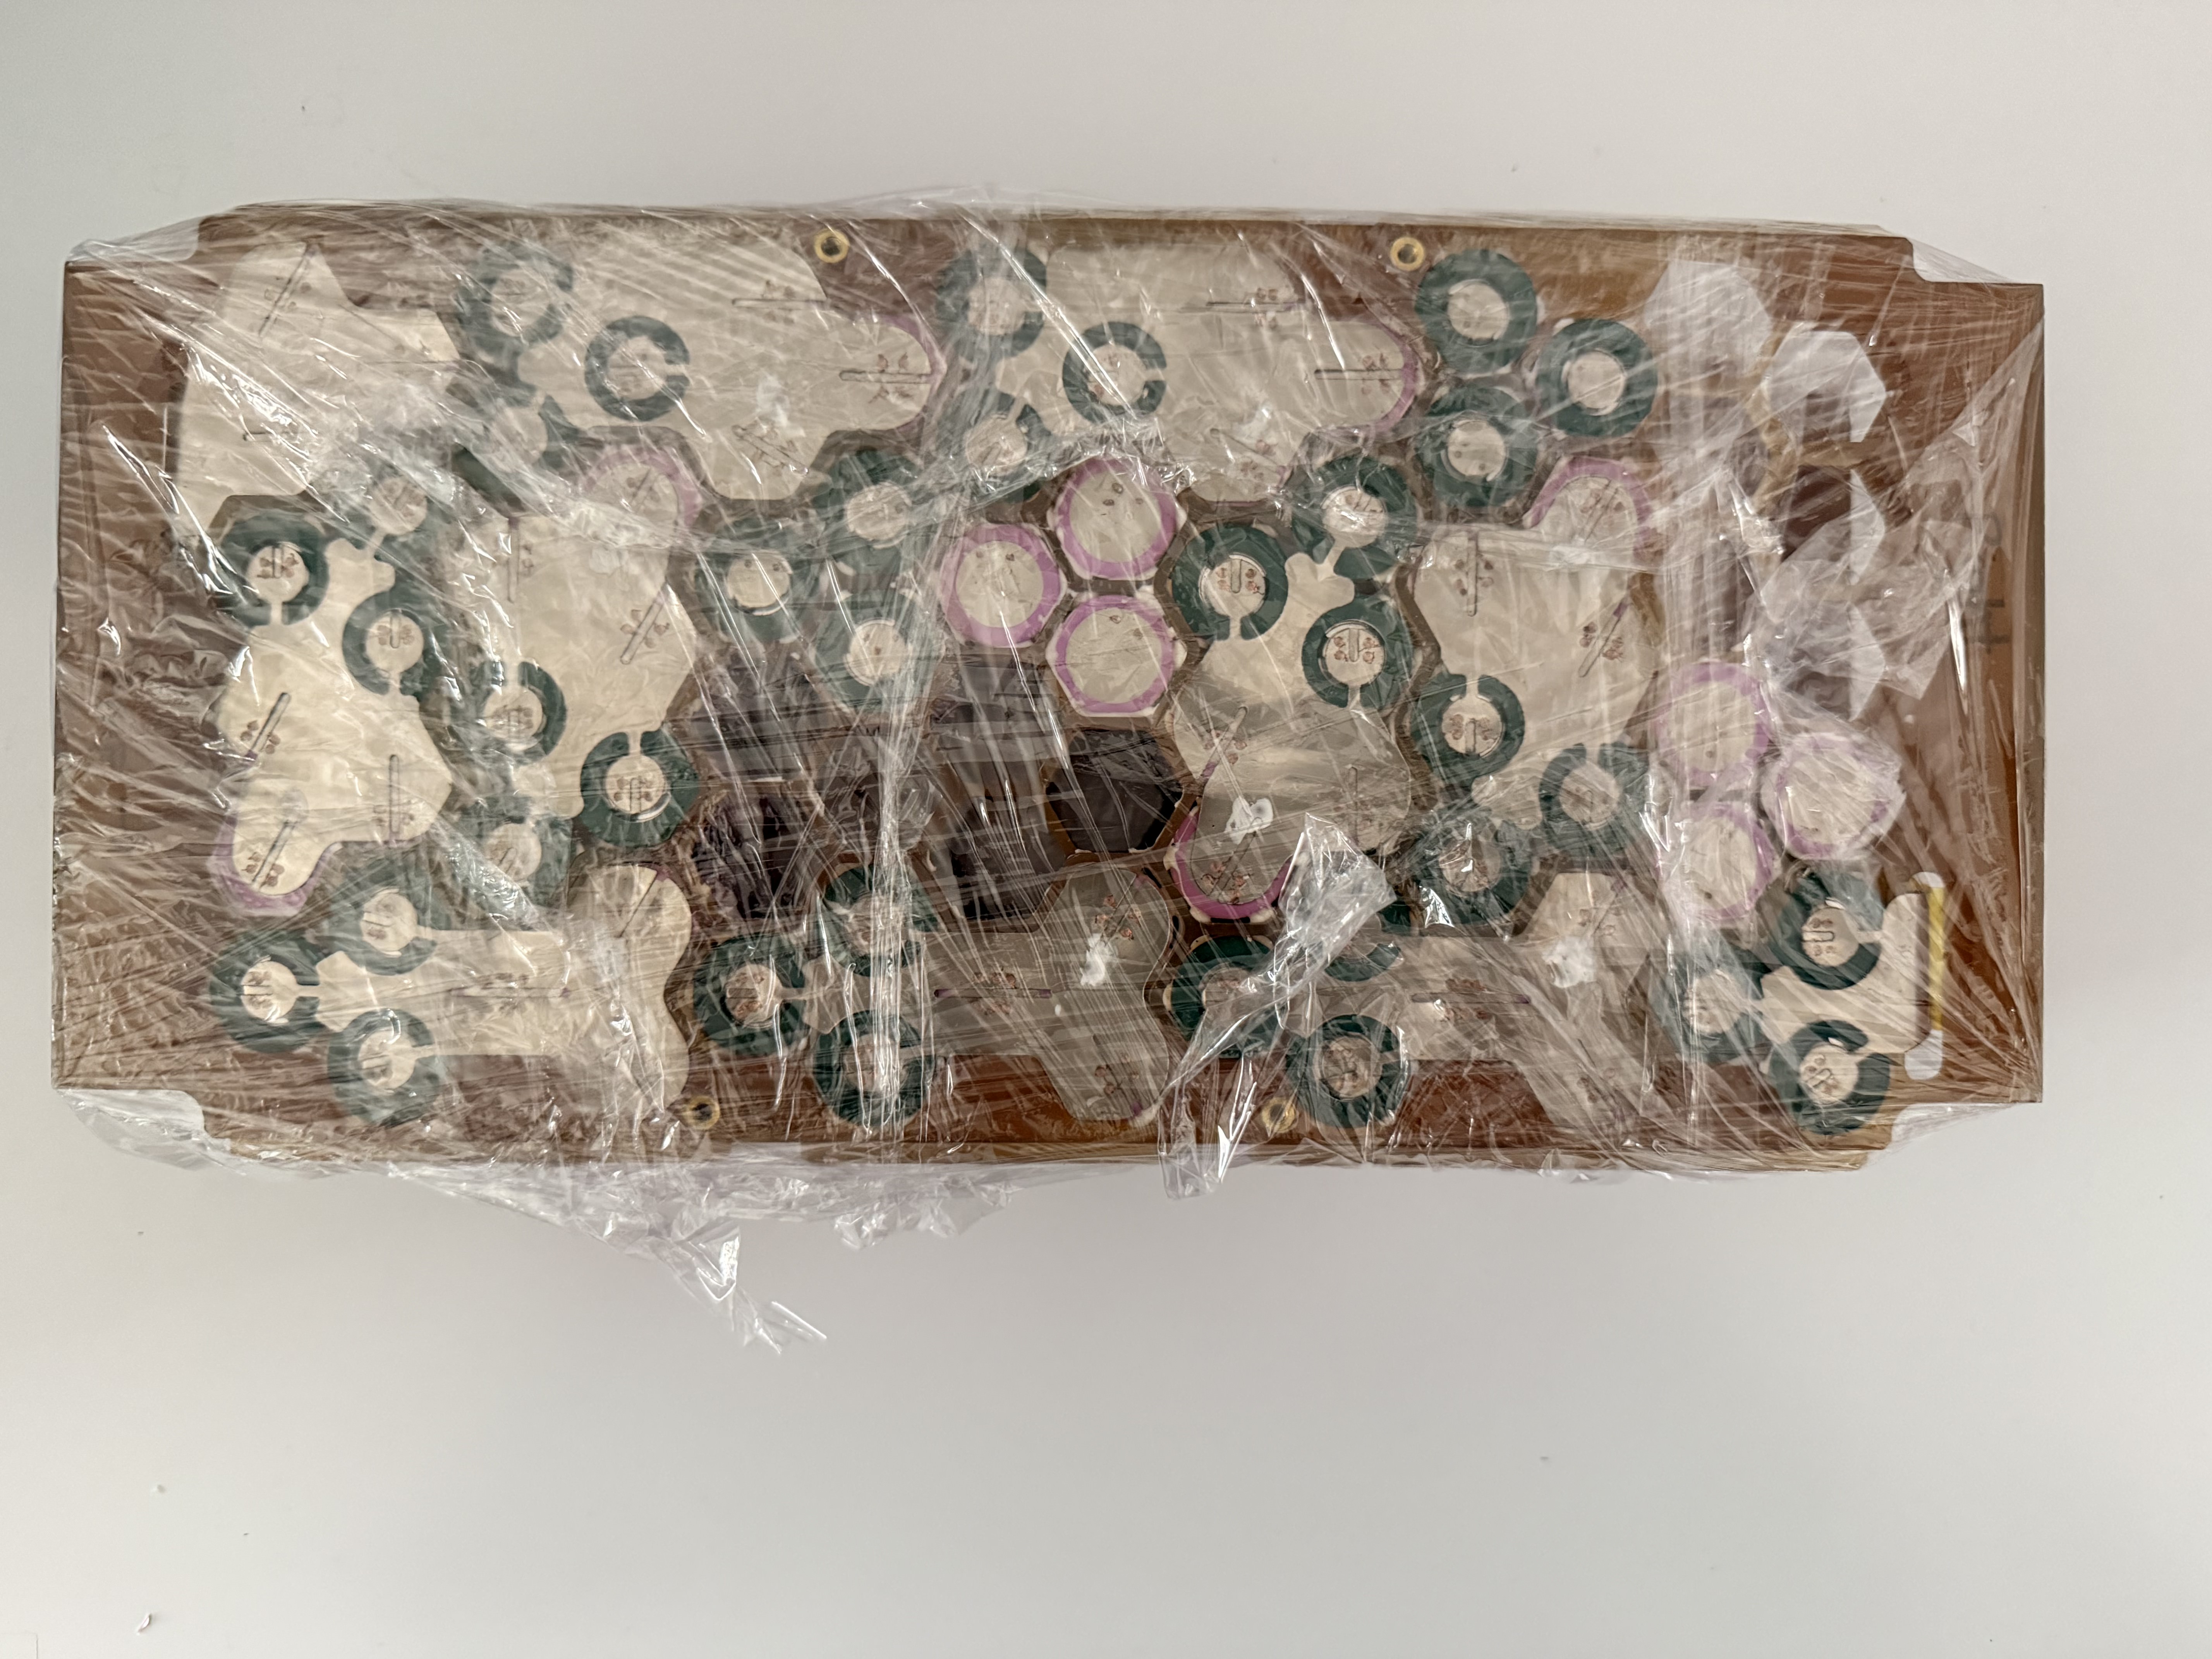
The challenge was removing cells that had been epoxied in place with DP100, a two-part epoxy rated UL 94 HB with a room-temperature overlap shear strength of approximately 1,500 psi. We froze the entire segment to make the epoxy brittle enough to carefully break the epoxy around the cells, thus freeing them.
Given the time crunch, we made some rash decisions to get the battery pack working, but we had to do what we could. The minimum temperature at which the BAK45D cells can discharge is -20°C, so this was the temperature used to freeze the segments. We were concerned about moisture and condensation after thawing, so we wrapped the segments in saran wrap before freezing to mitigate as much moisture exposure as possible.
While the real segments froze, I suggested freezing individual spare cells under worse conditions than the real segments, including no plastic wrap and greater condensation exposure. I used these cells as a test bench for spot welding the thawed segments.
Concerns and Test Setup
There were a couple of concerns I had for spot welding frozen segments:
- Spot welding previously frozen cells could send a small amount of current through the cell, momentarily charging it and potentially creating conditions that could contribute to dendrite growth.
- Spot welding cells that had already been spot welded were difficult because residual weld nuggets remained after the old busbars were removed.
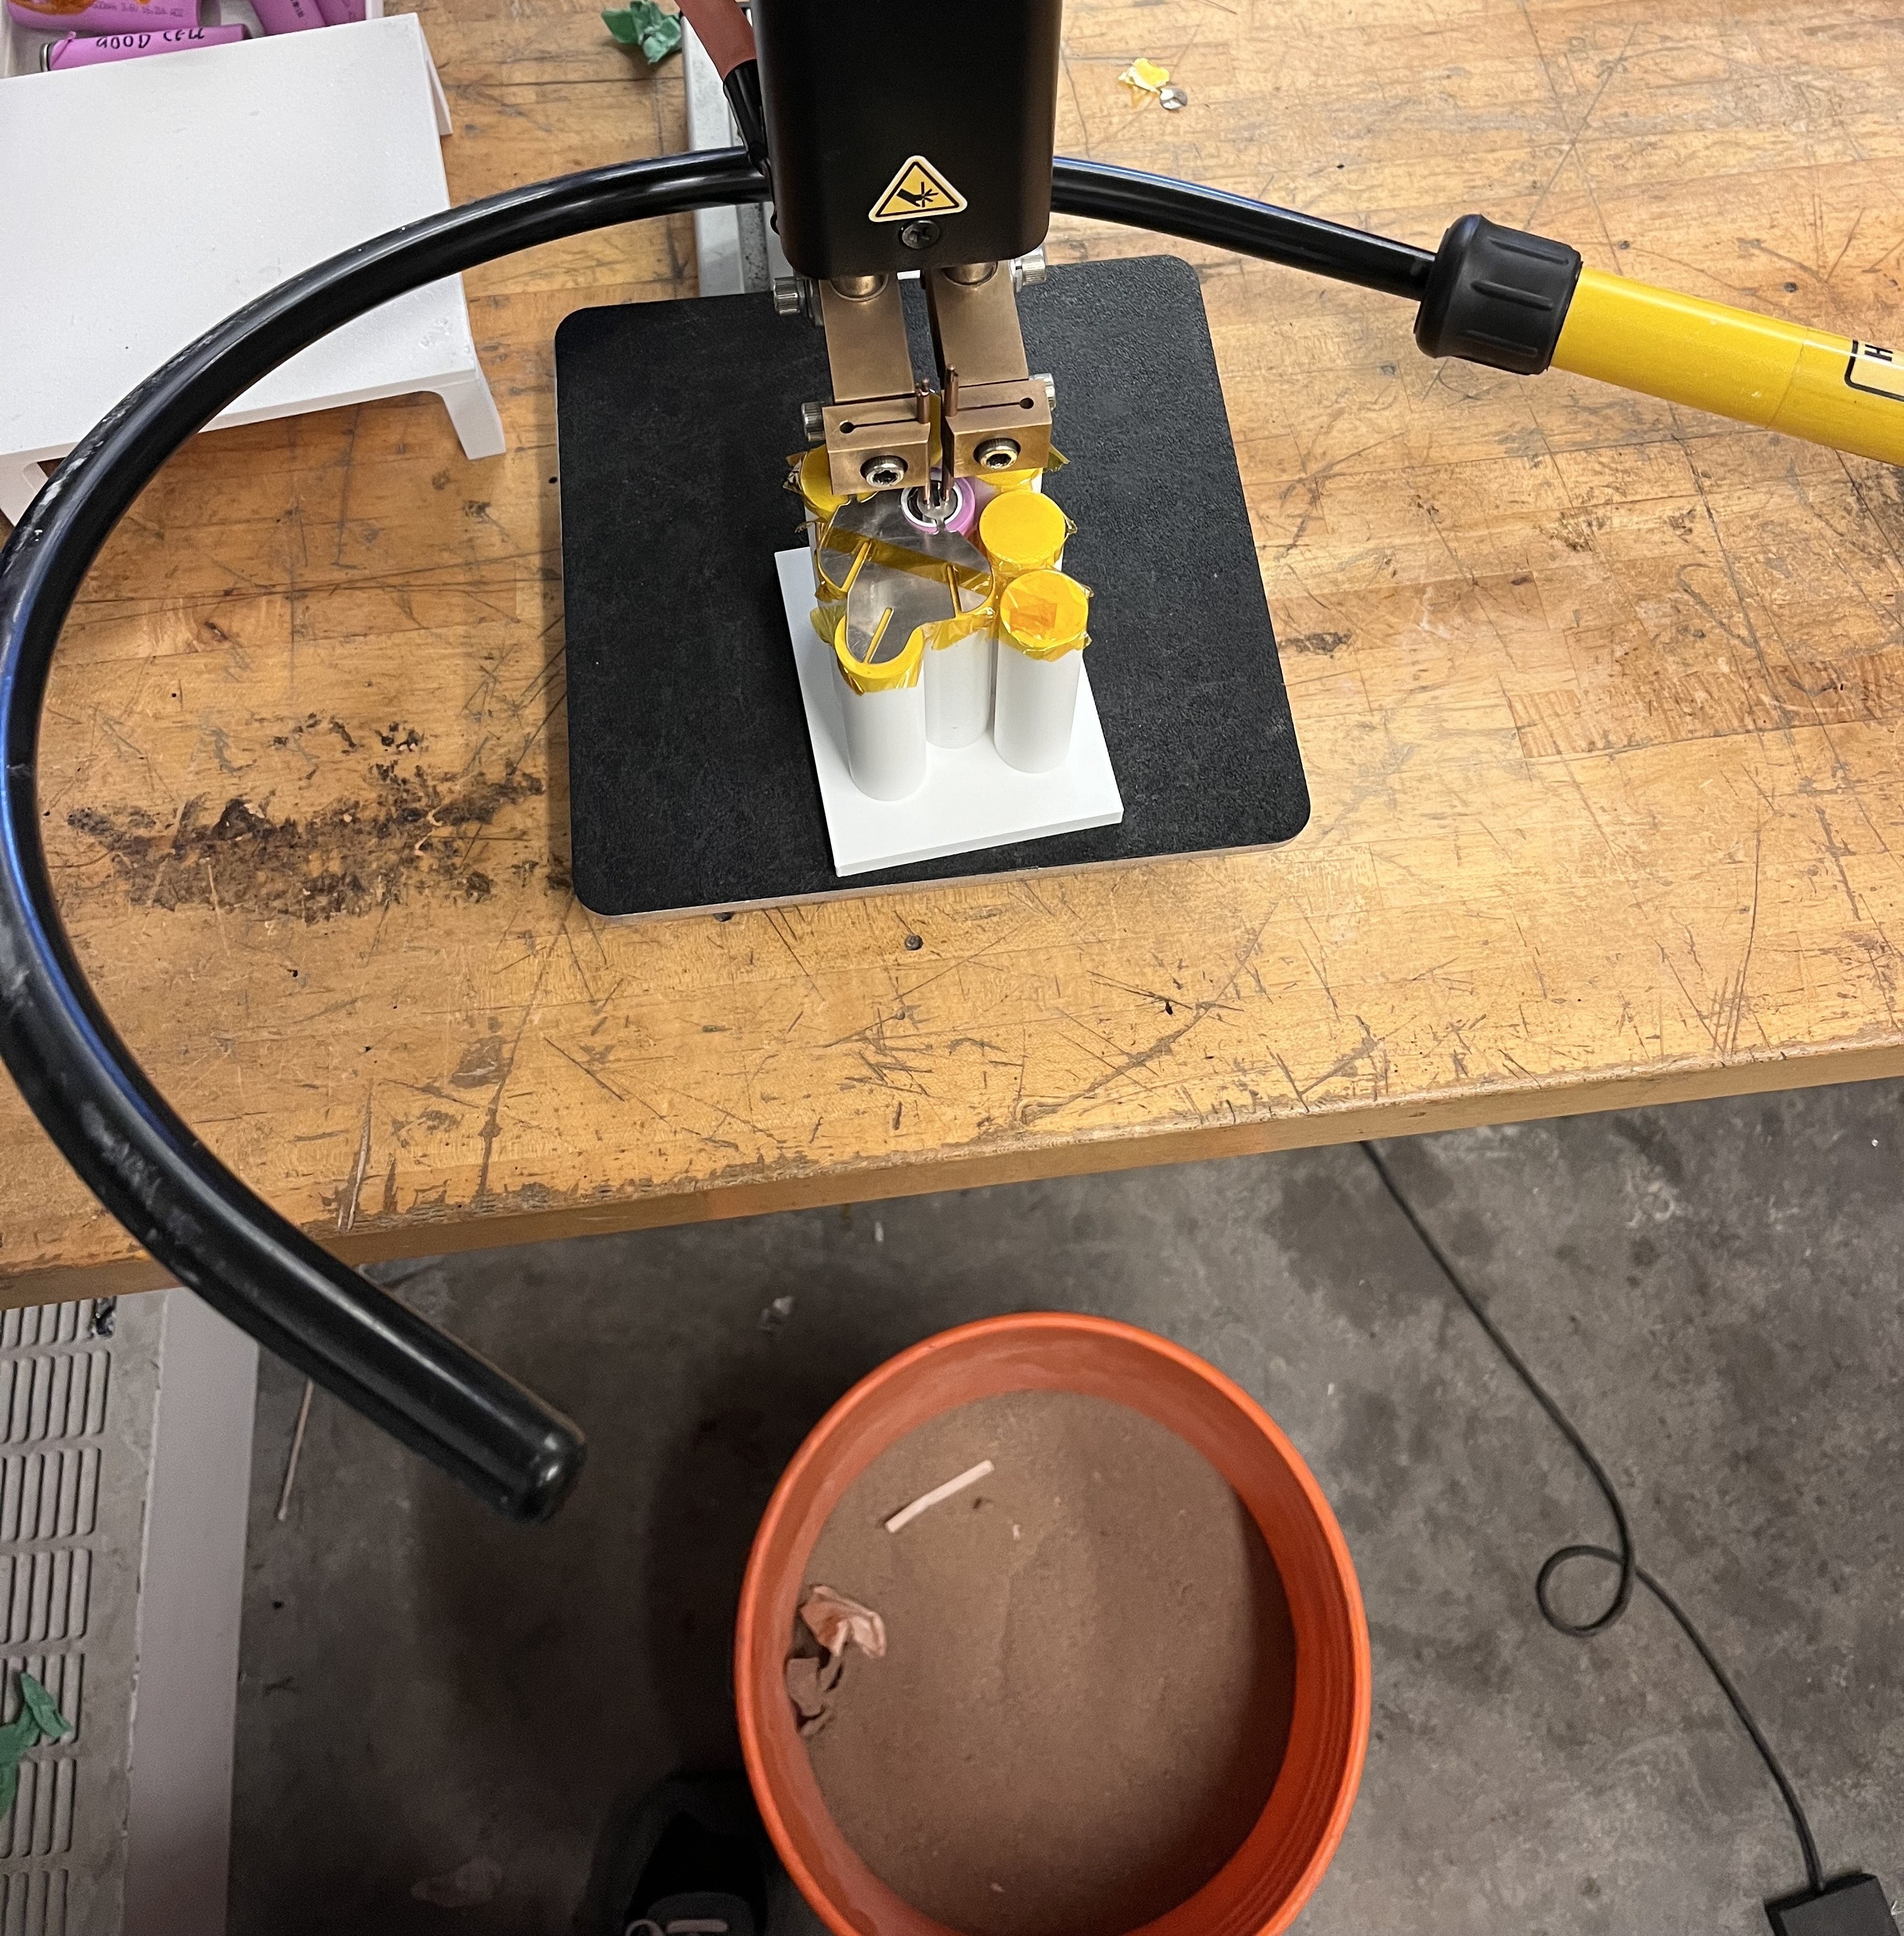
To address these concerns, I set up a test procedure that replicated the work planned for the real segments at the individual cell level.
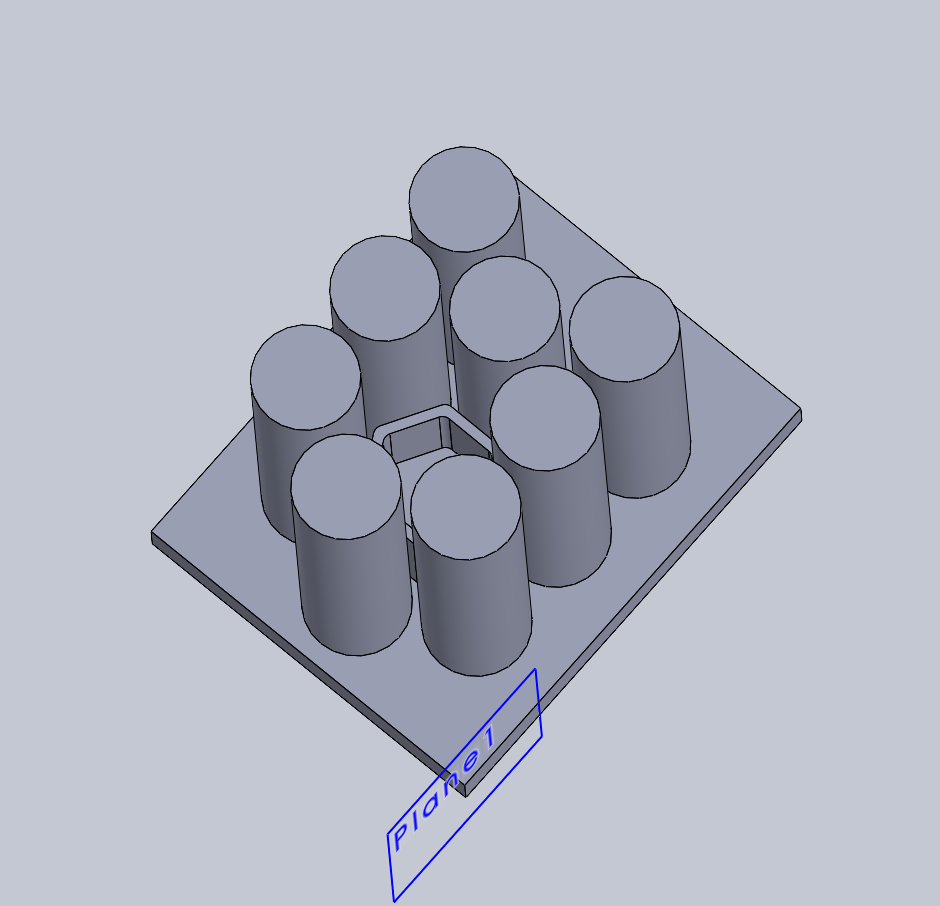
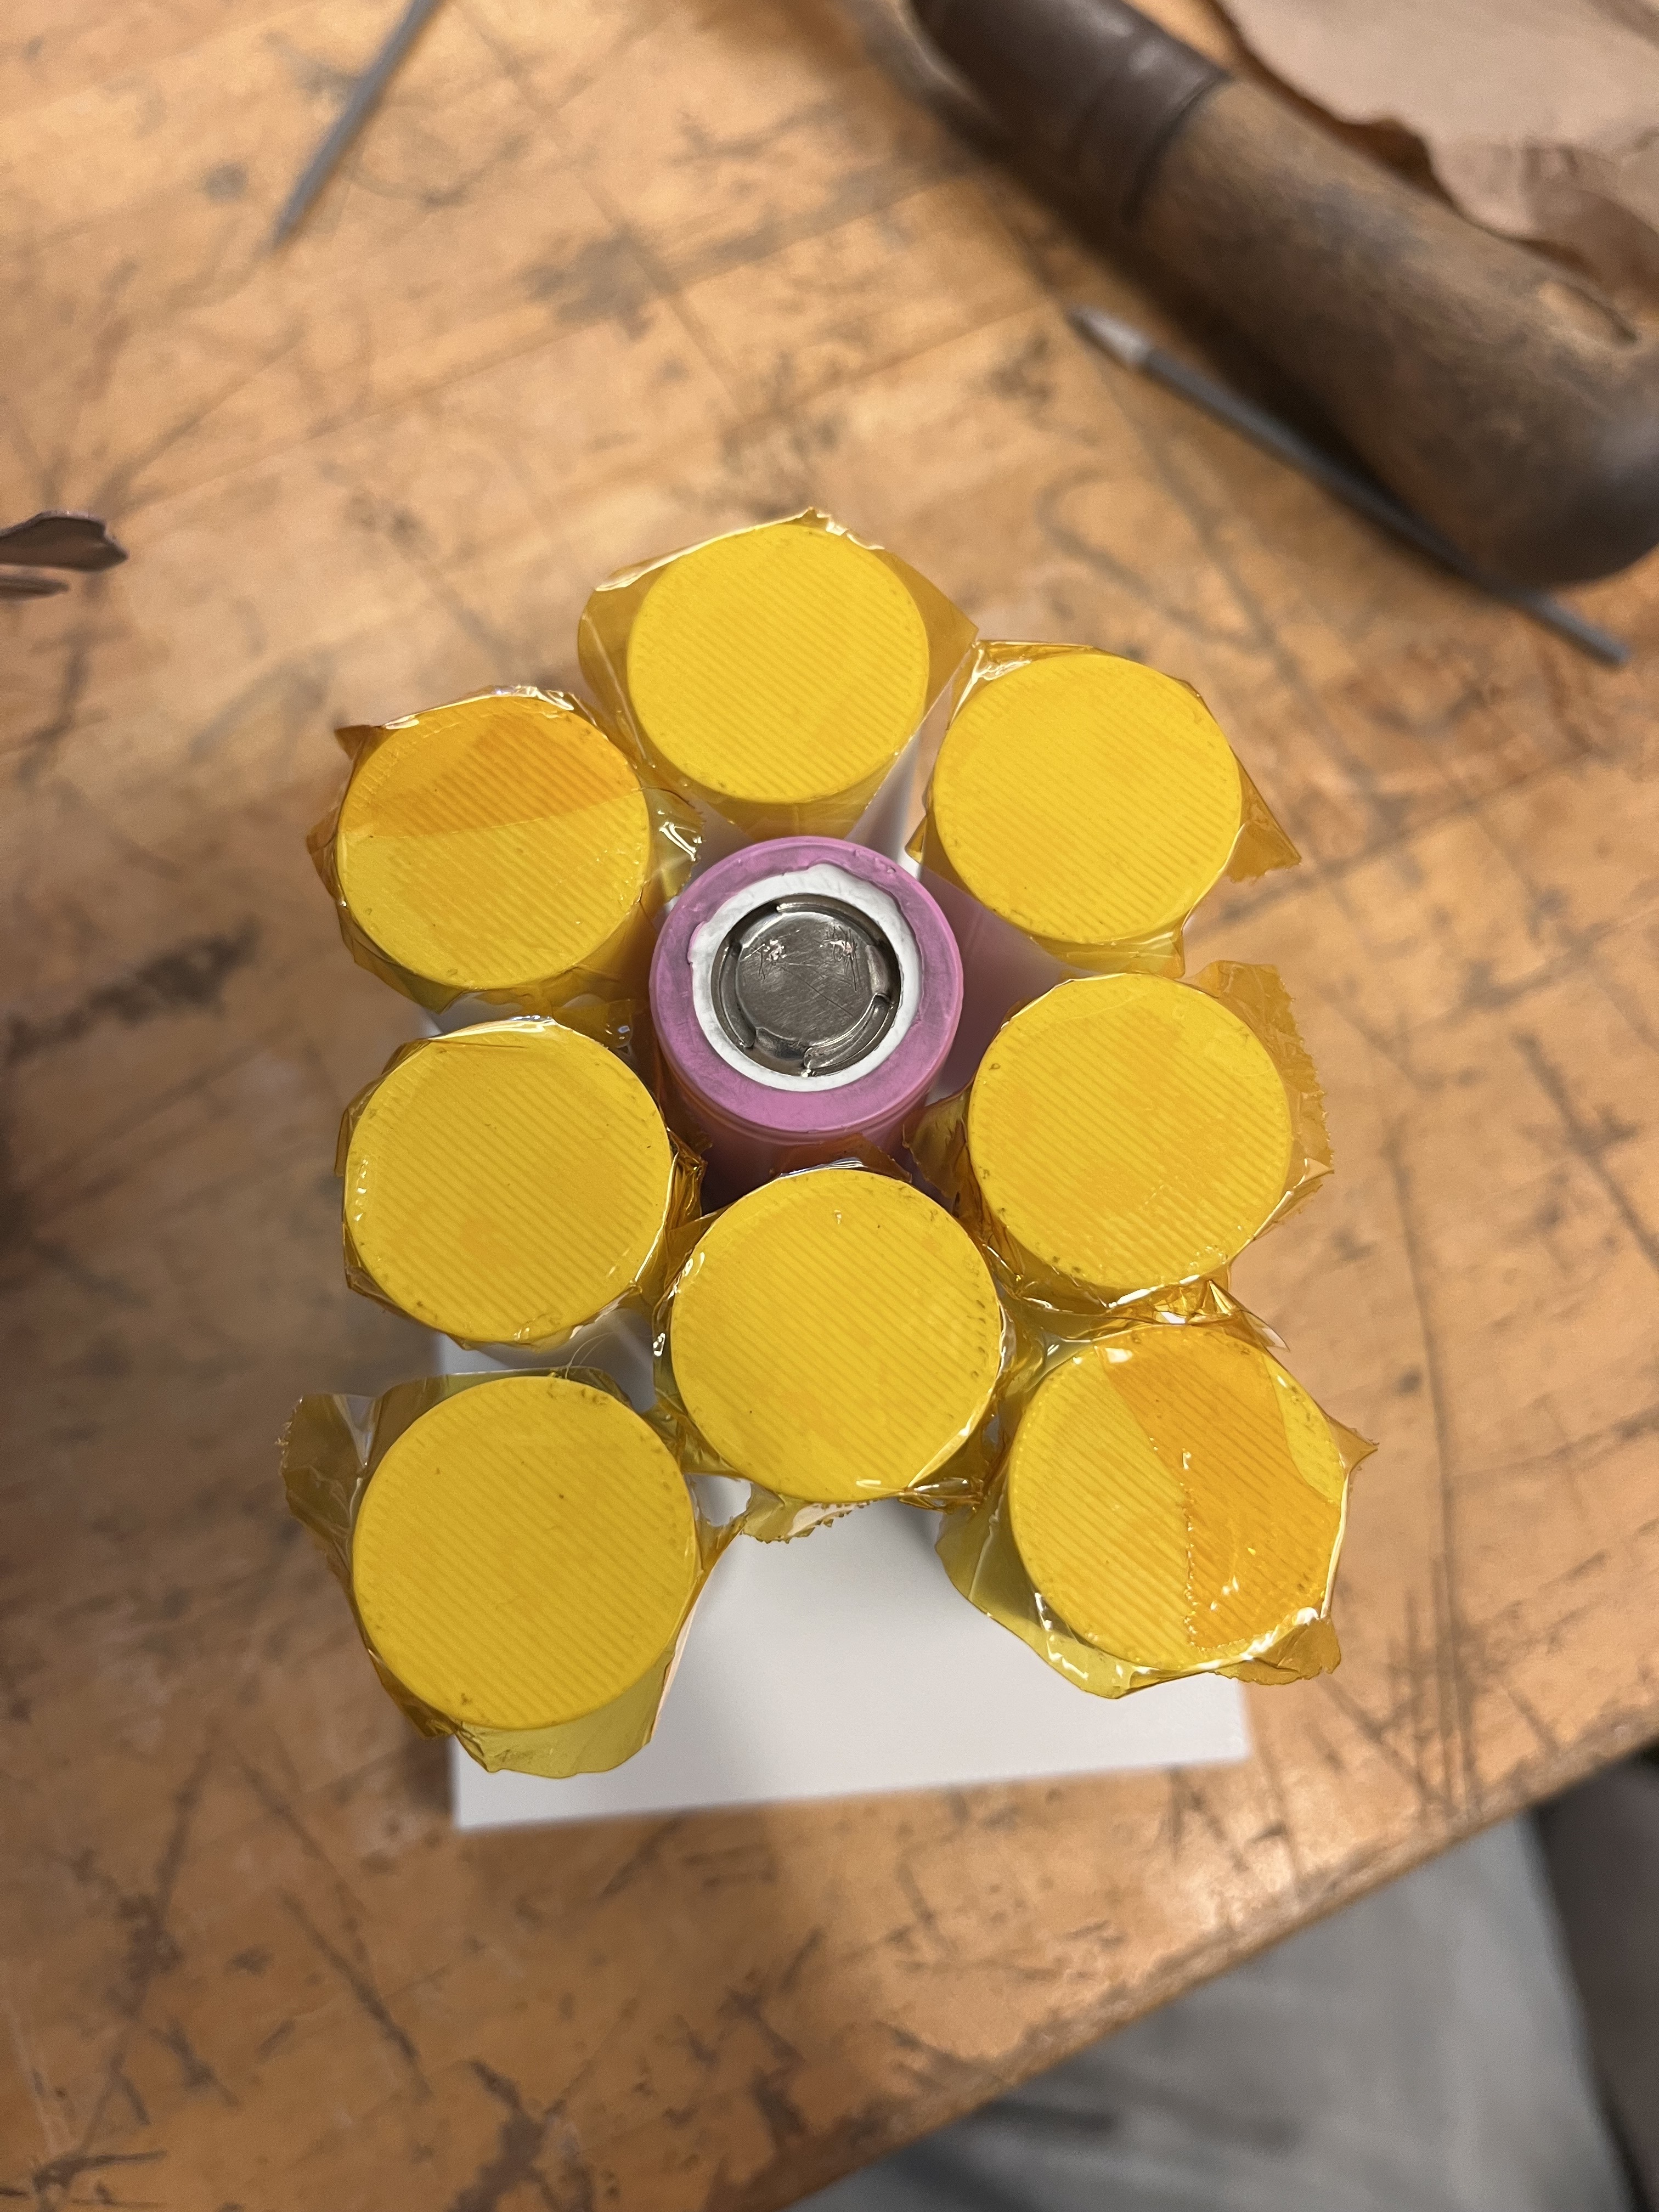
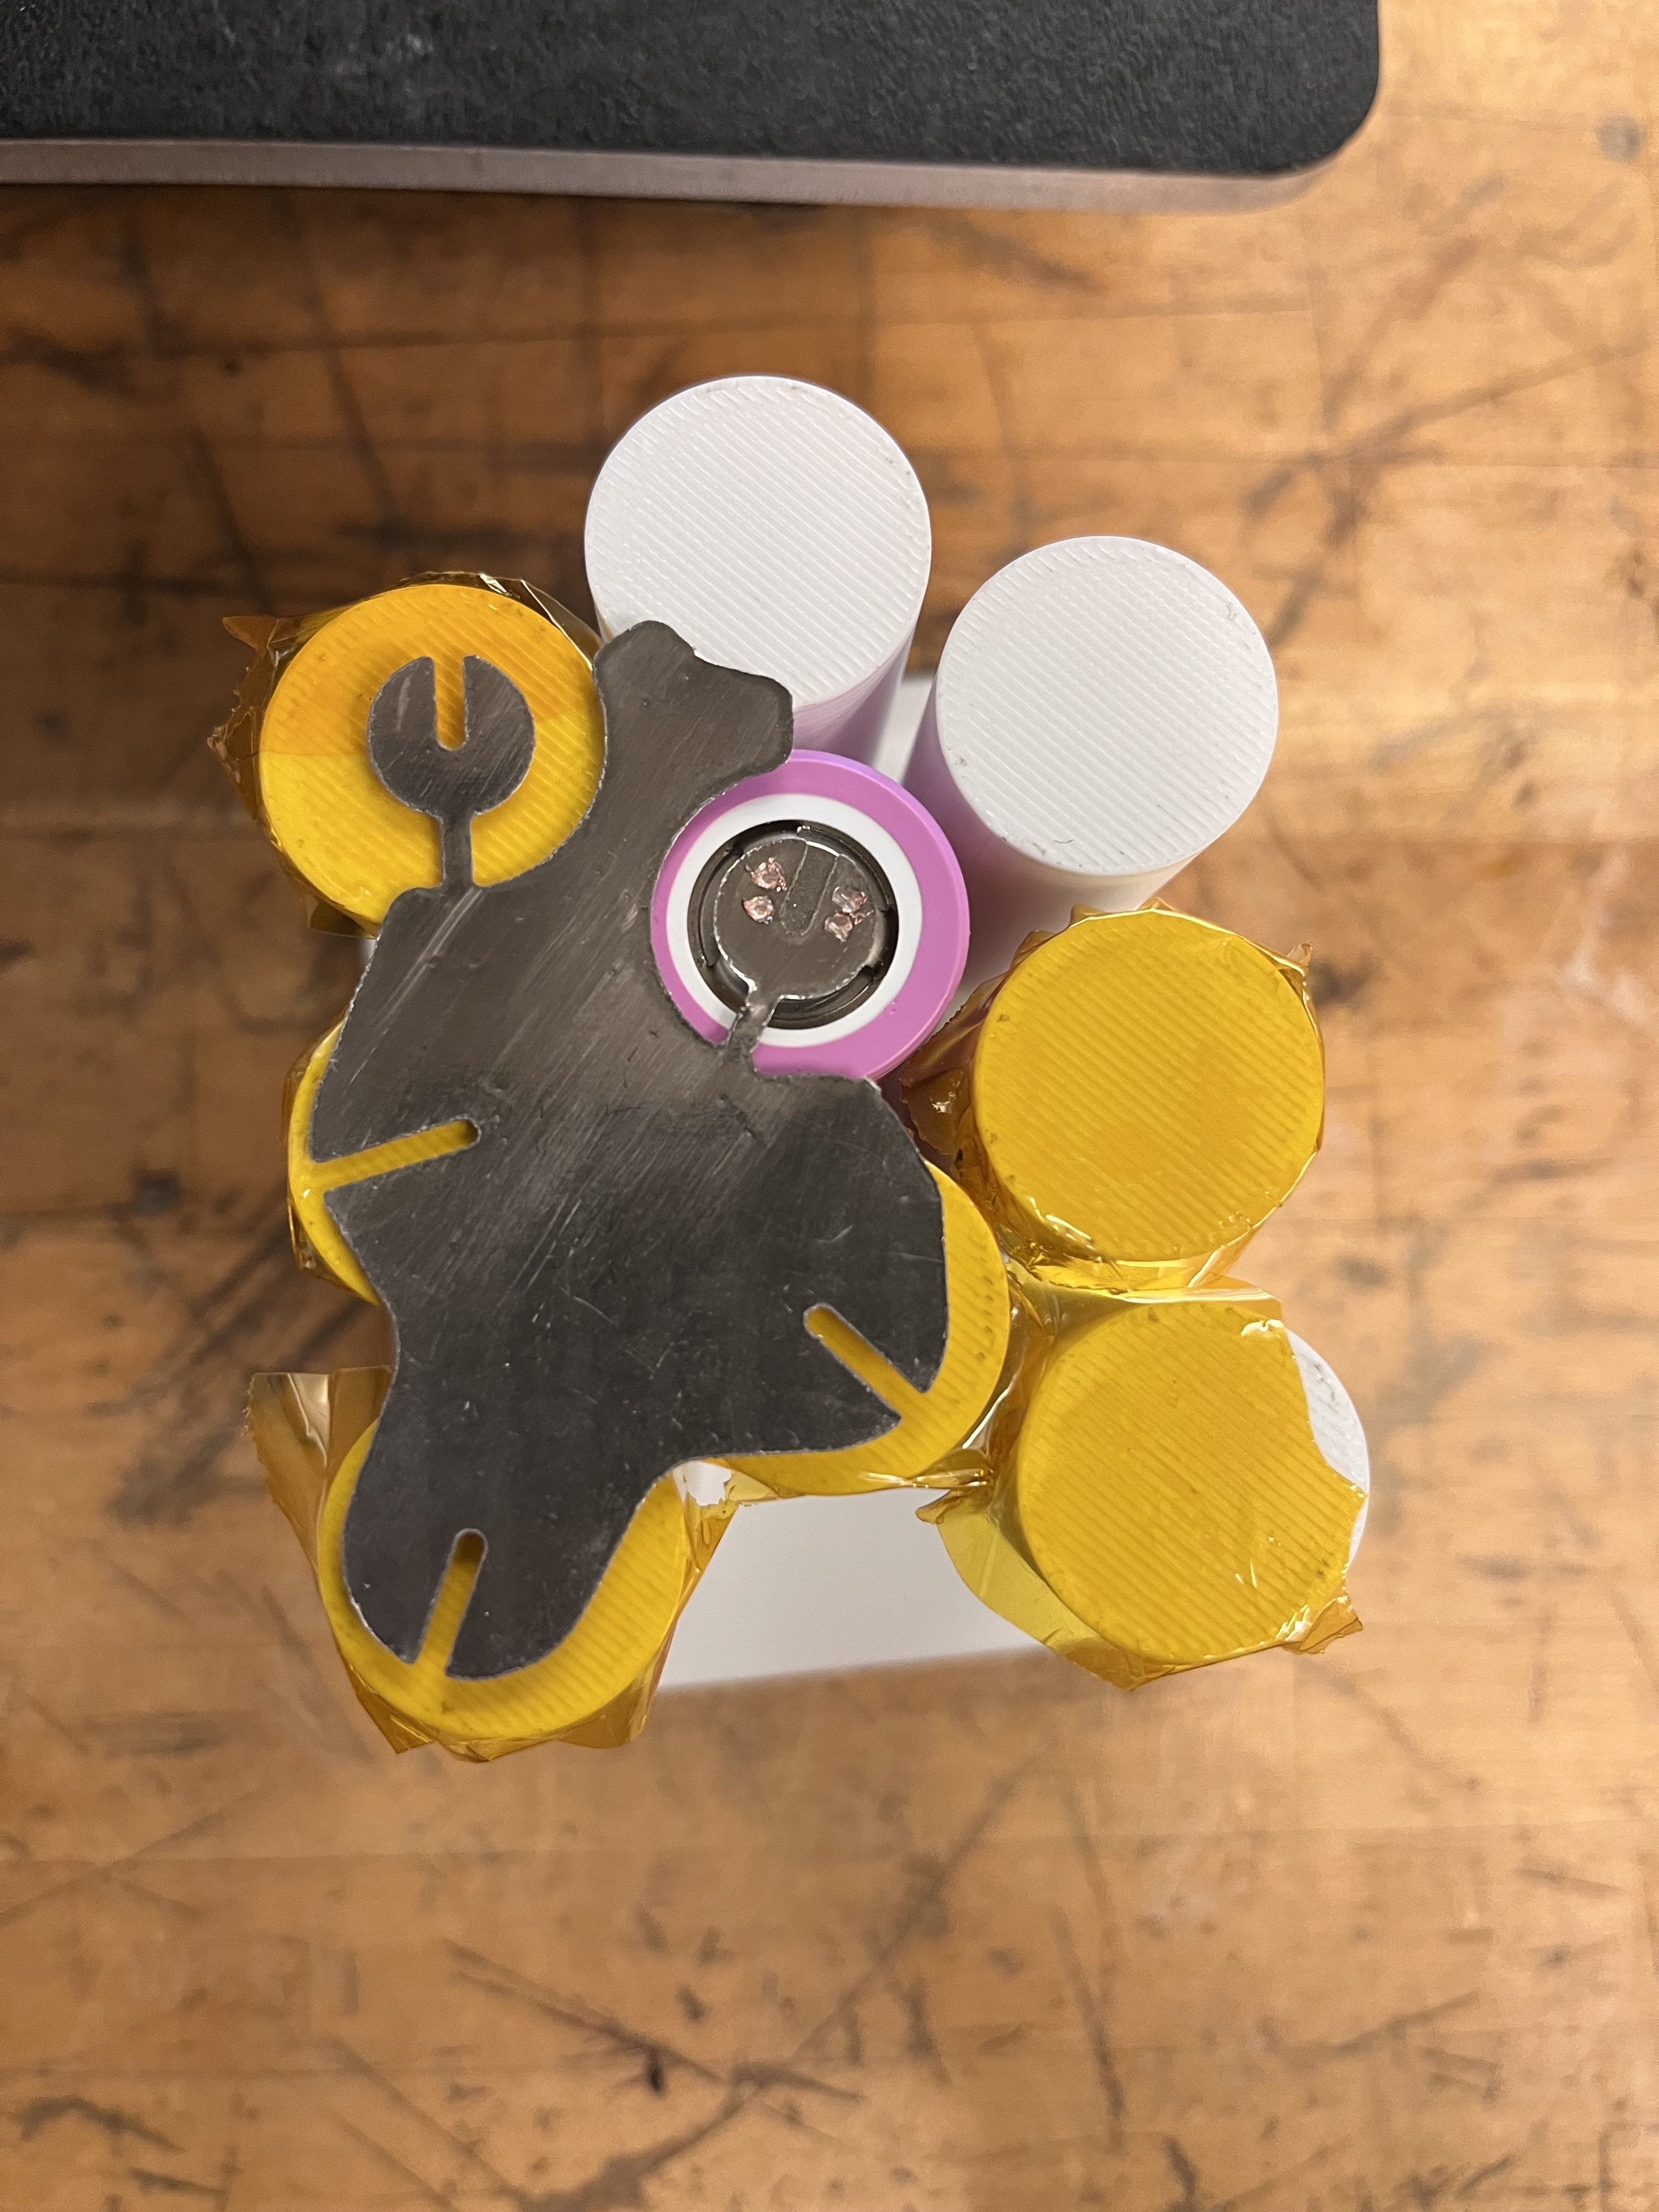
I designed a single cell spot welding jig, and 3D printed it in PETG-V0, a UL 94 V-0-rated material, to mitigate the consequences of a possible thermal-runaway event. I also taped each 3D-printed fake cell with Kapton tape to improve flammability safety around the cell.
Test Procedure
- Spot weld thawed individual cells using the established spot-welding parameters for SIGMACLAD 60 busbars.
- After each spot weld, use a thermal camera to check for any temperature rise. Thermal propagation is a very real concern, so this was monitored throughout the test.
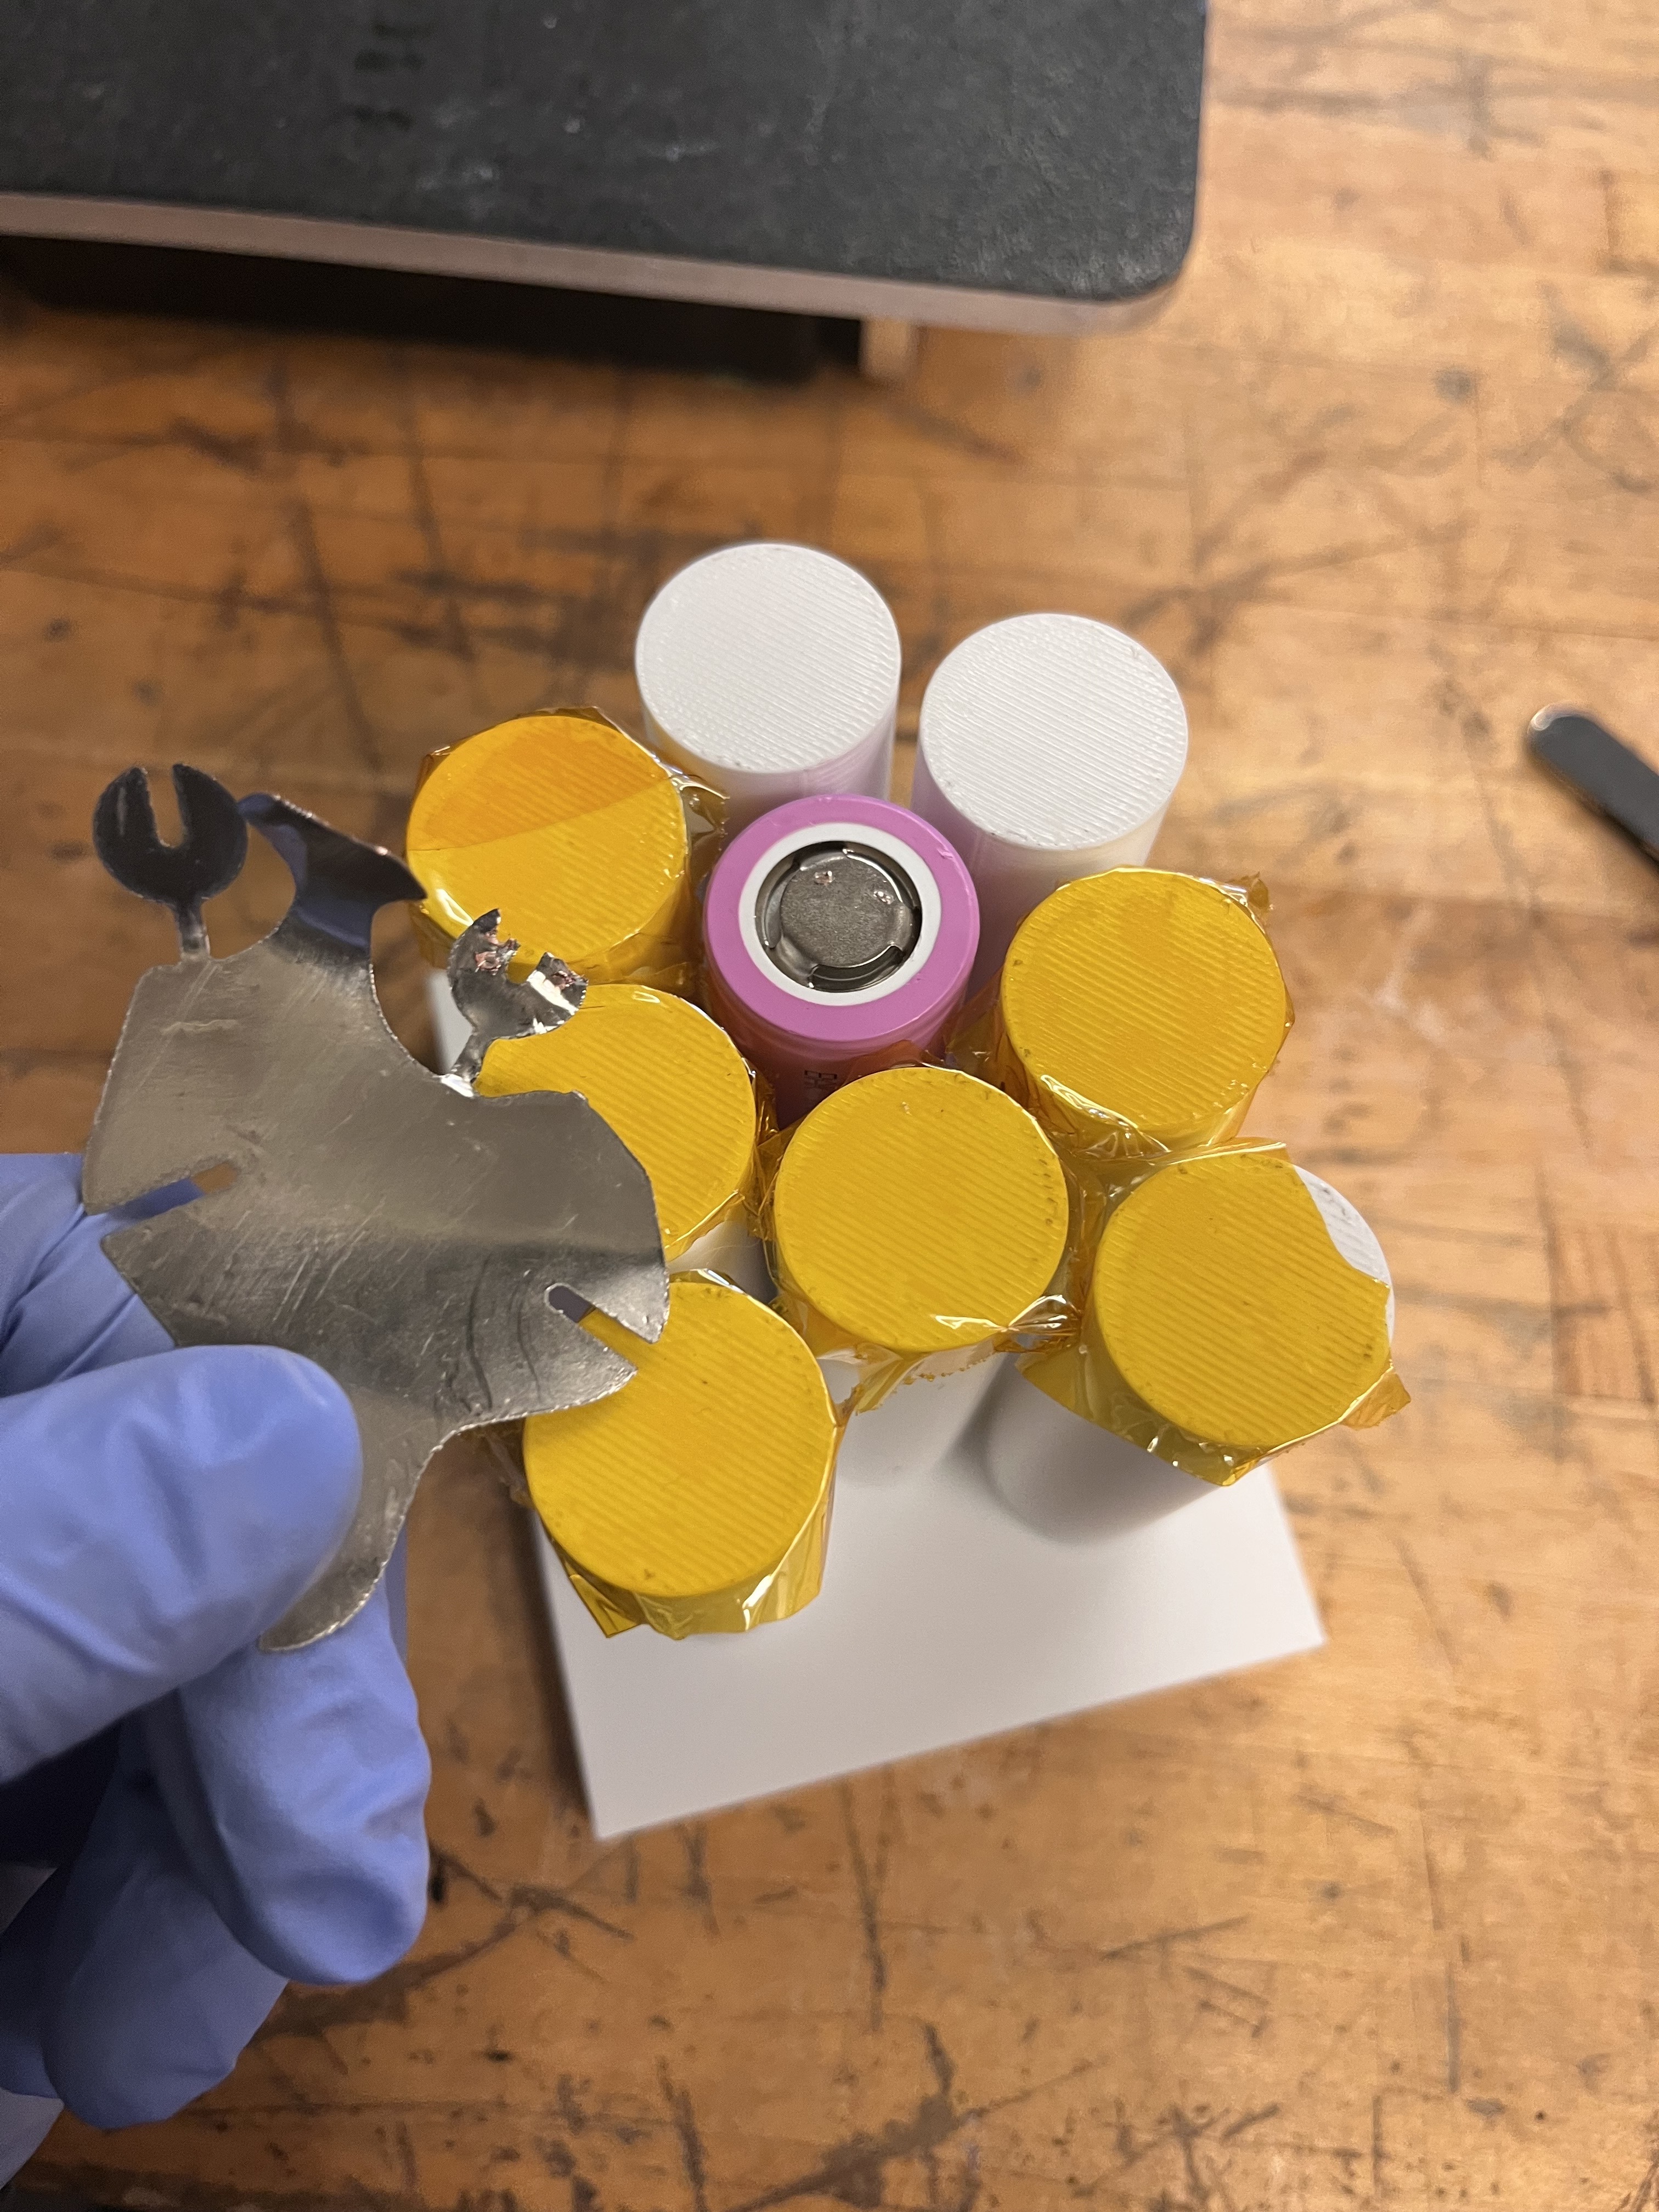
- Remove the busbars to reveal the weld nuggets.
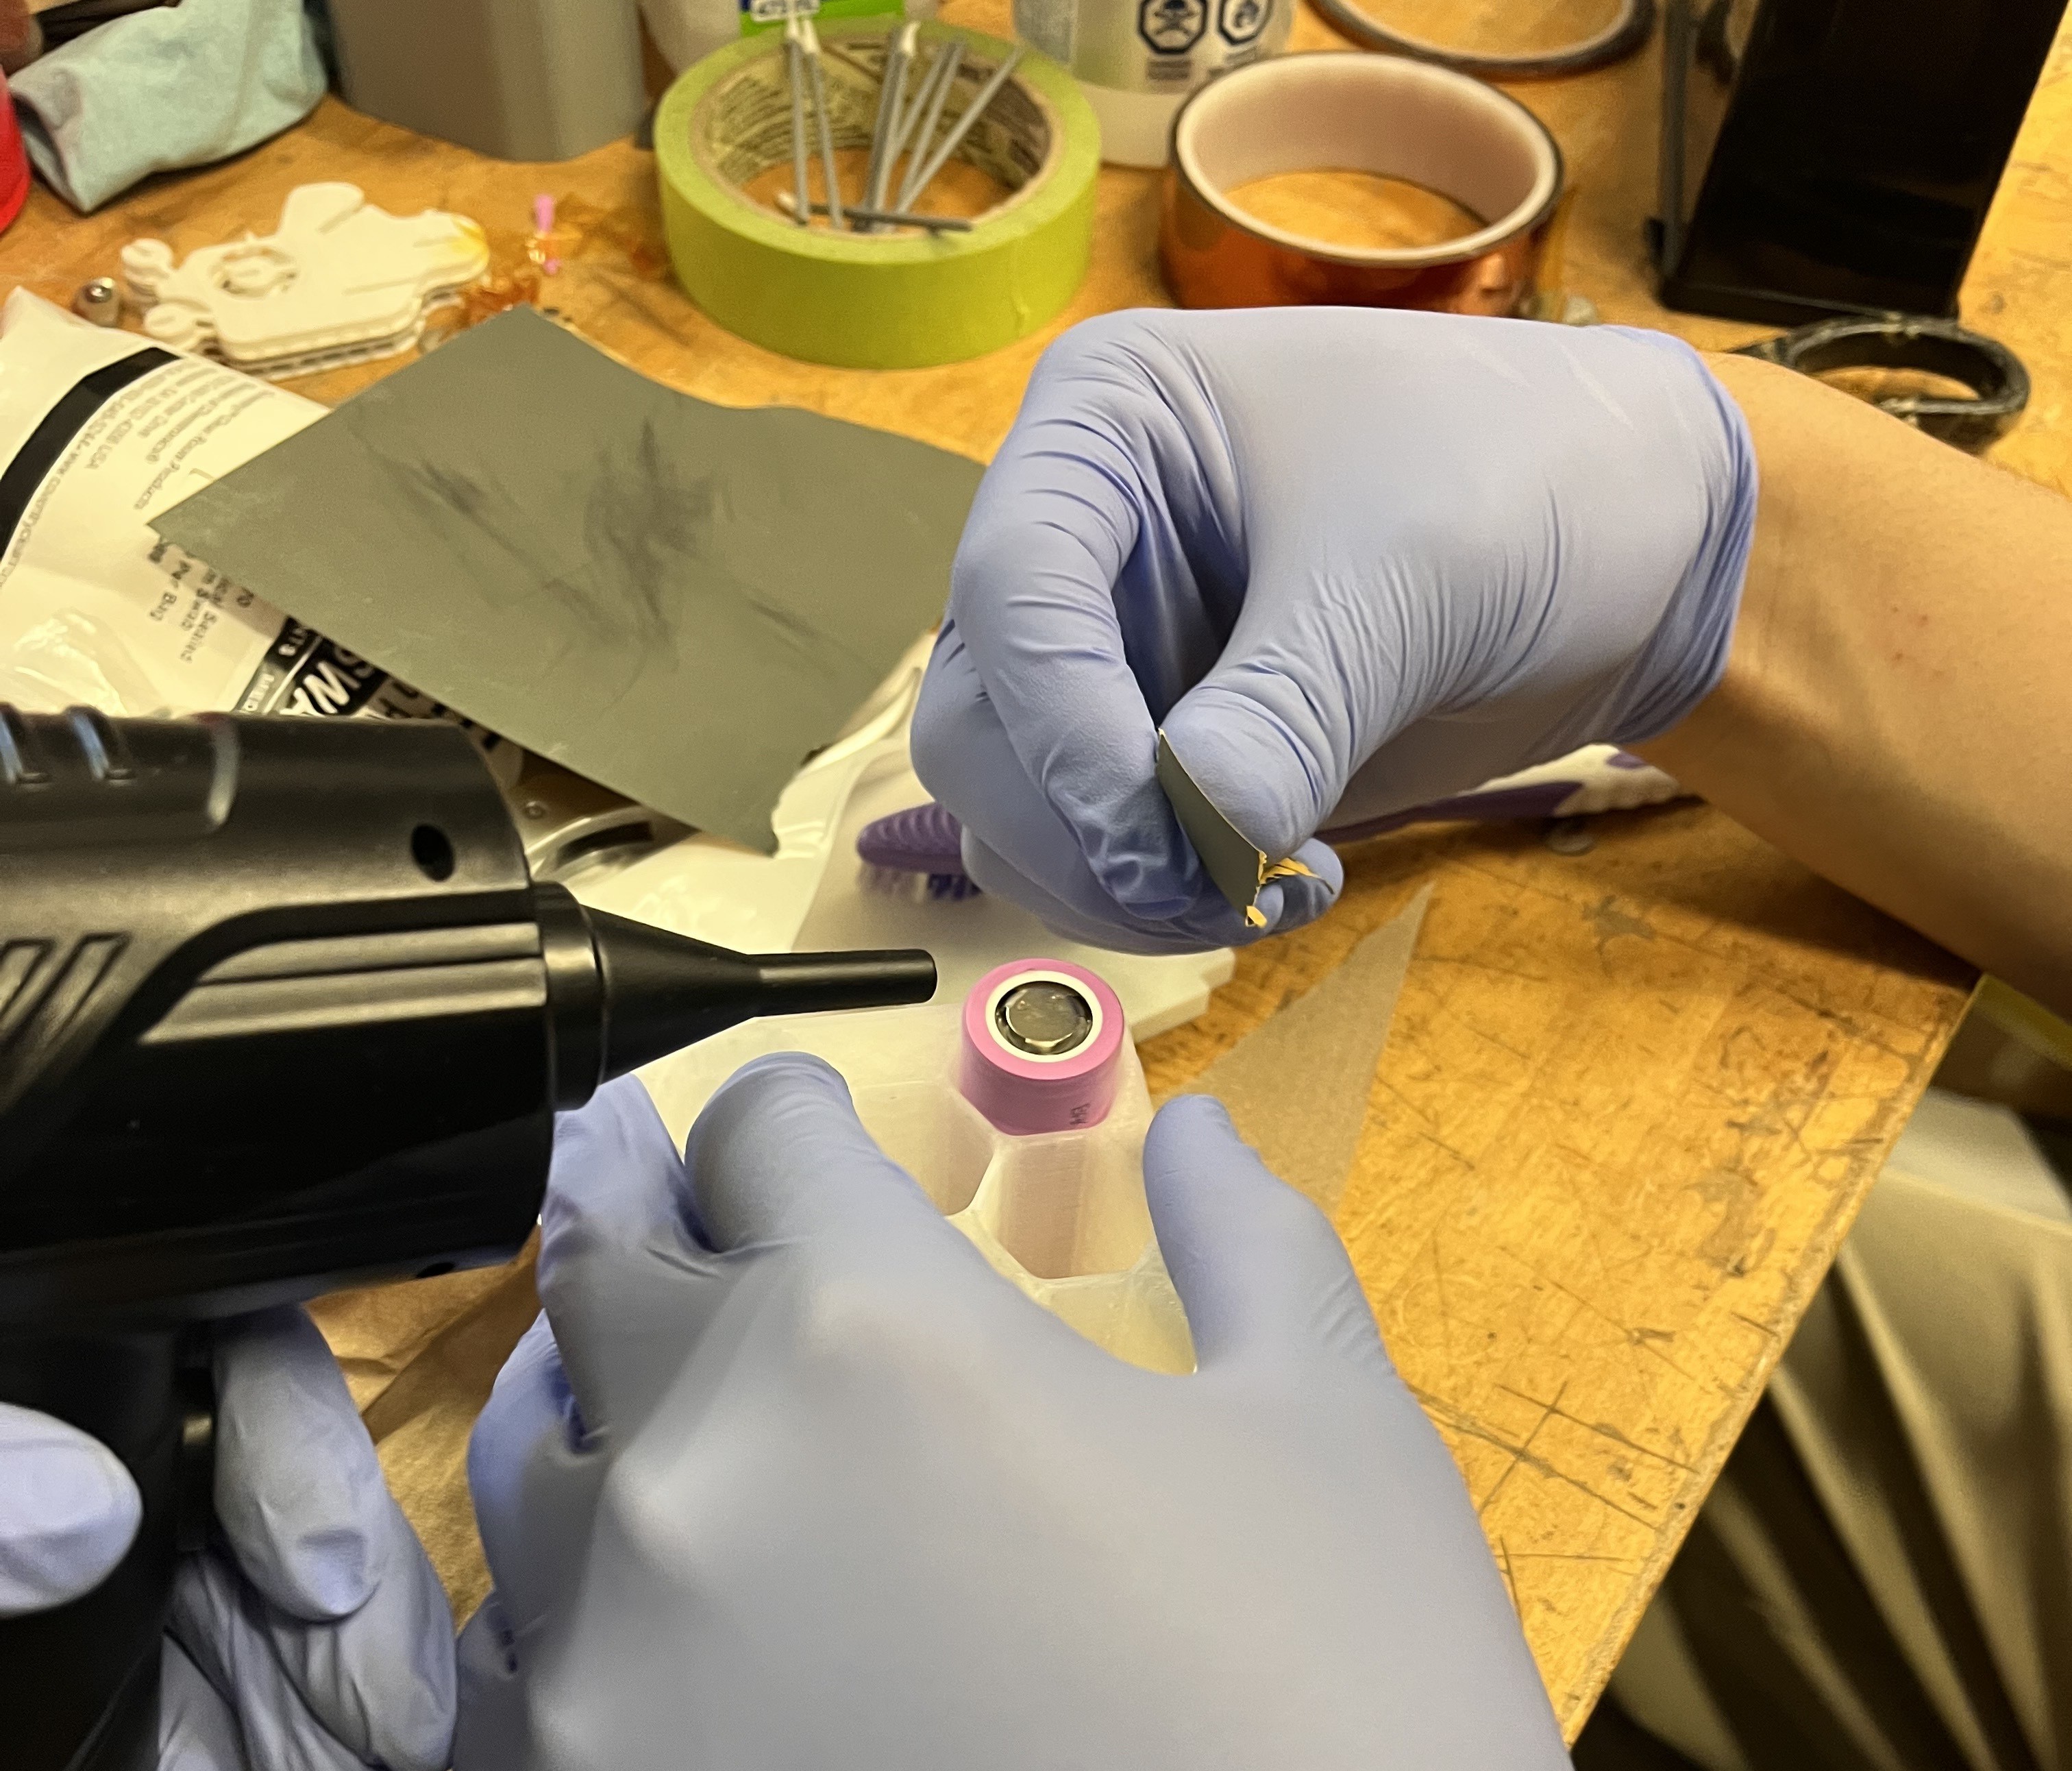
- Sand the weld nuggets using 1000 grit sandpaper and IPA.
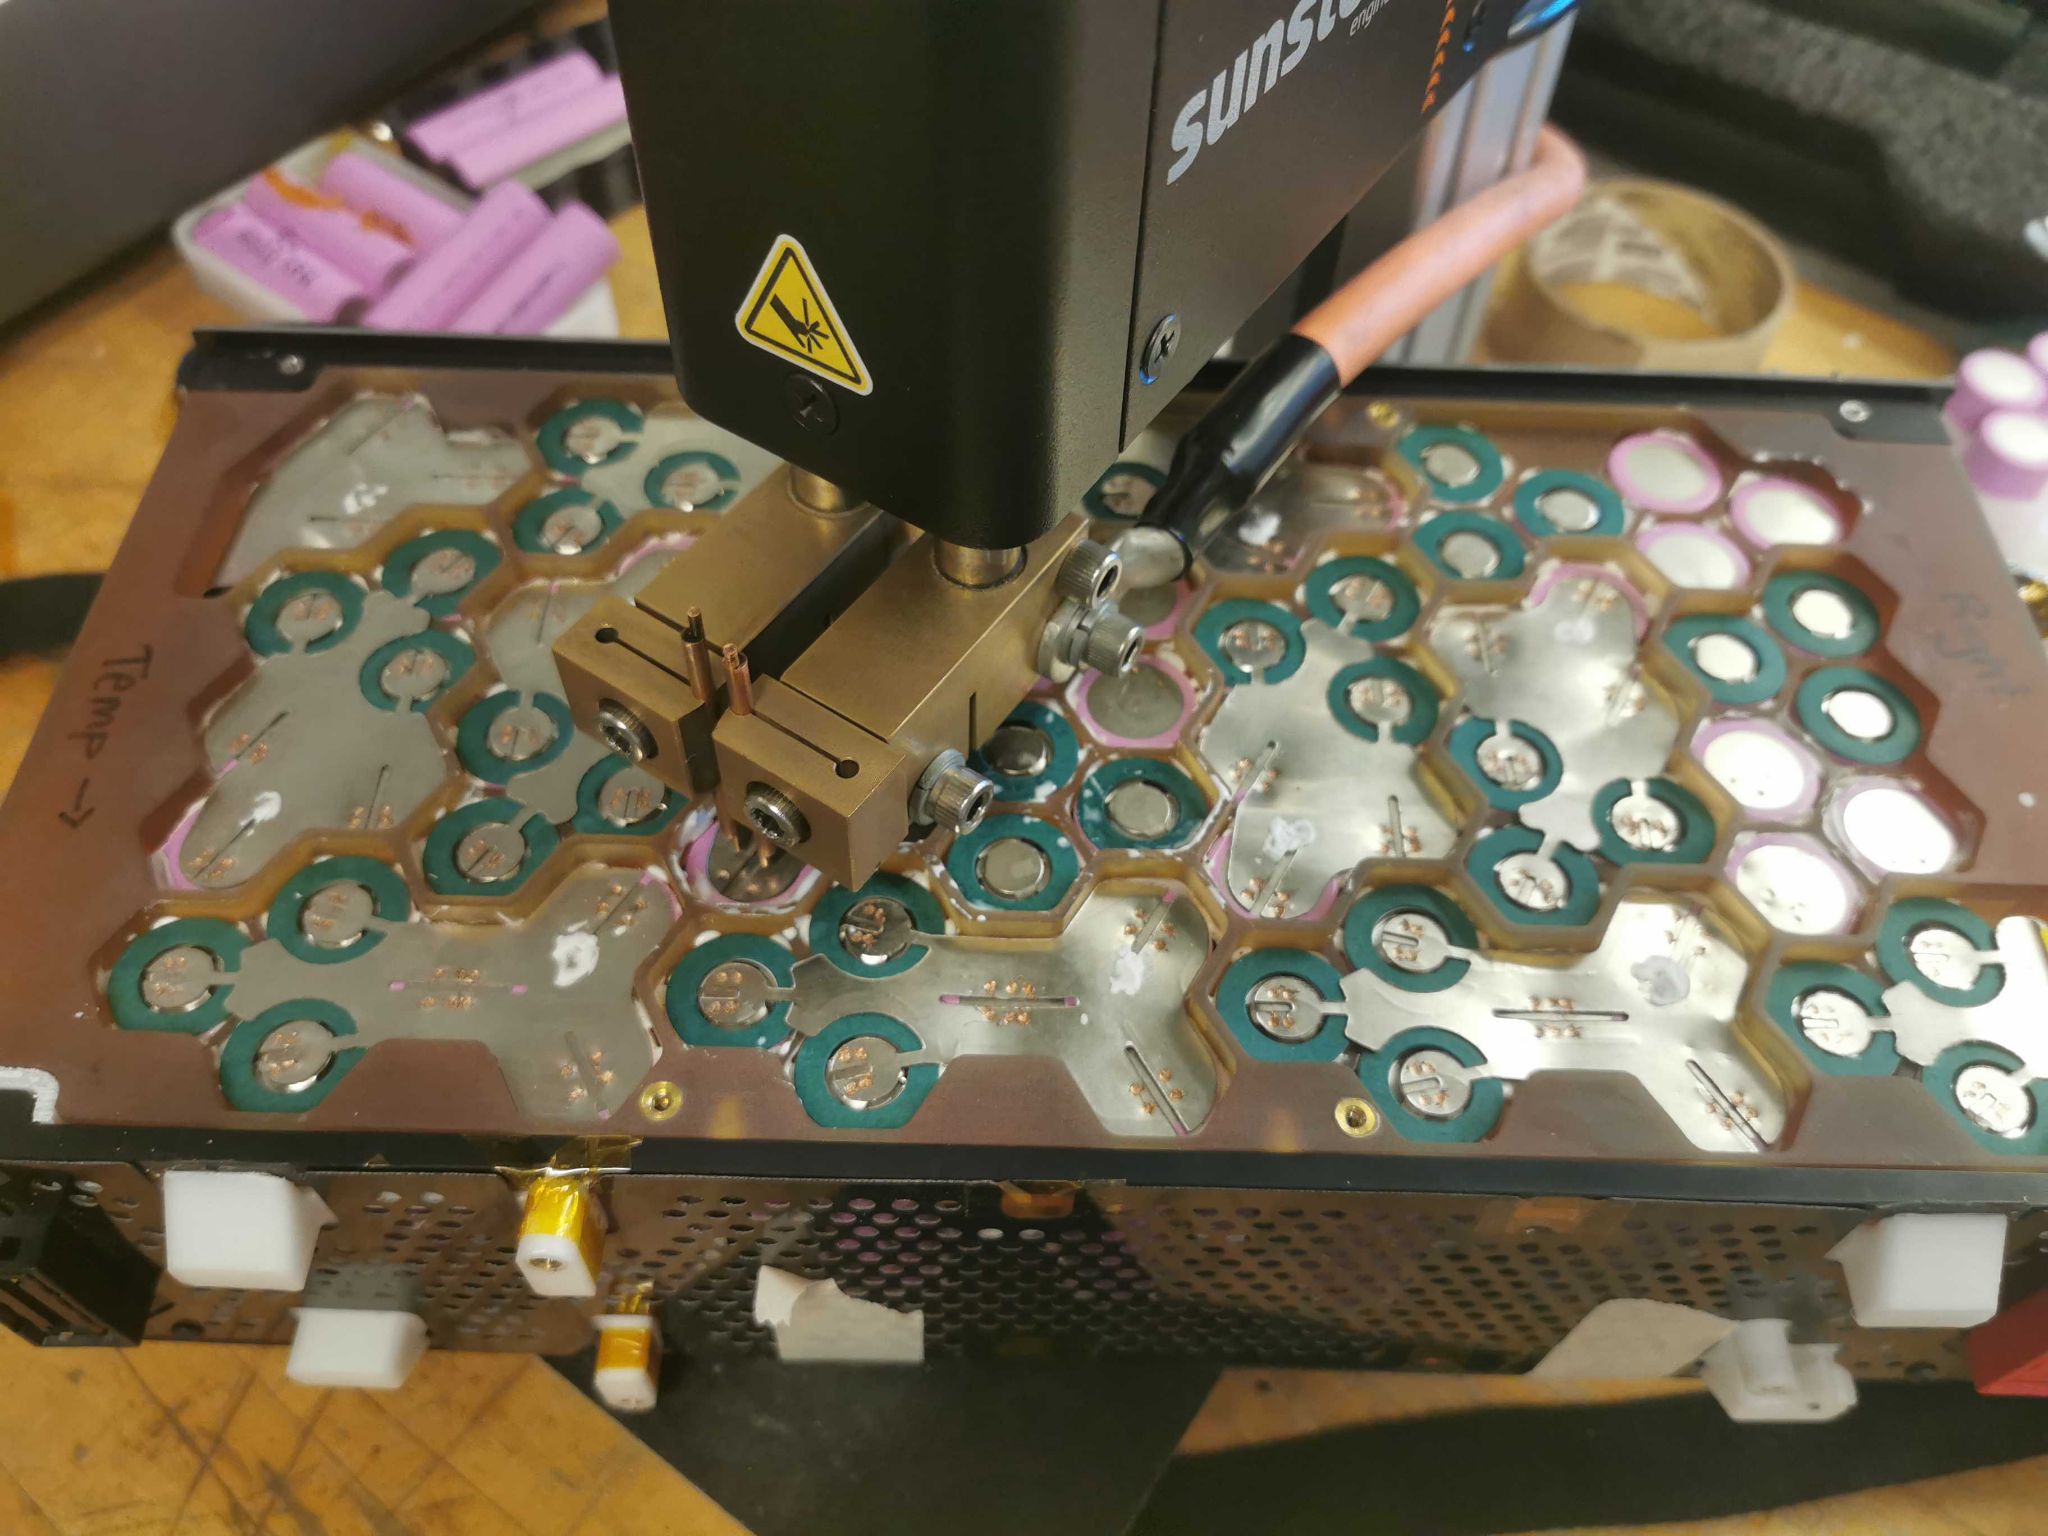
- Spot weld again, avoiding the old nugget by increasing the busbar anti-shunt.
Lessons Learned
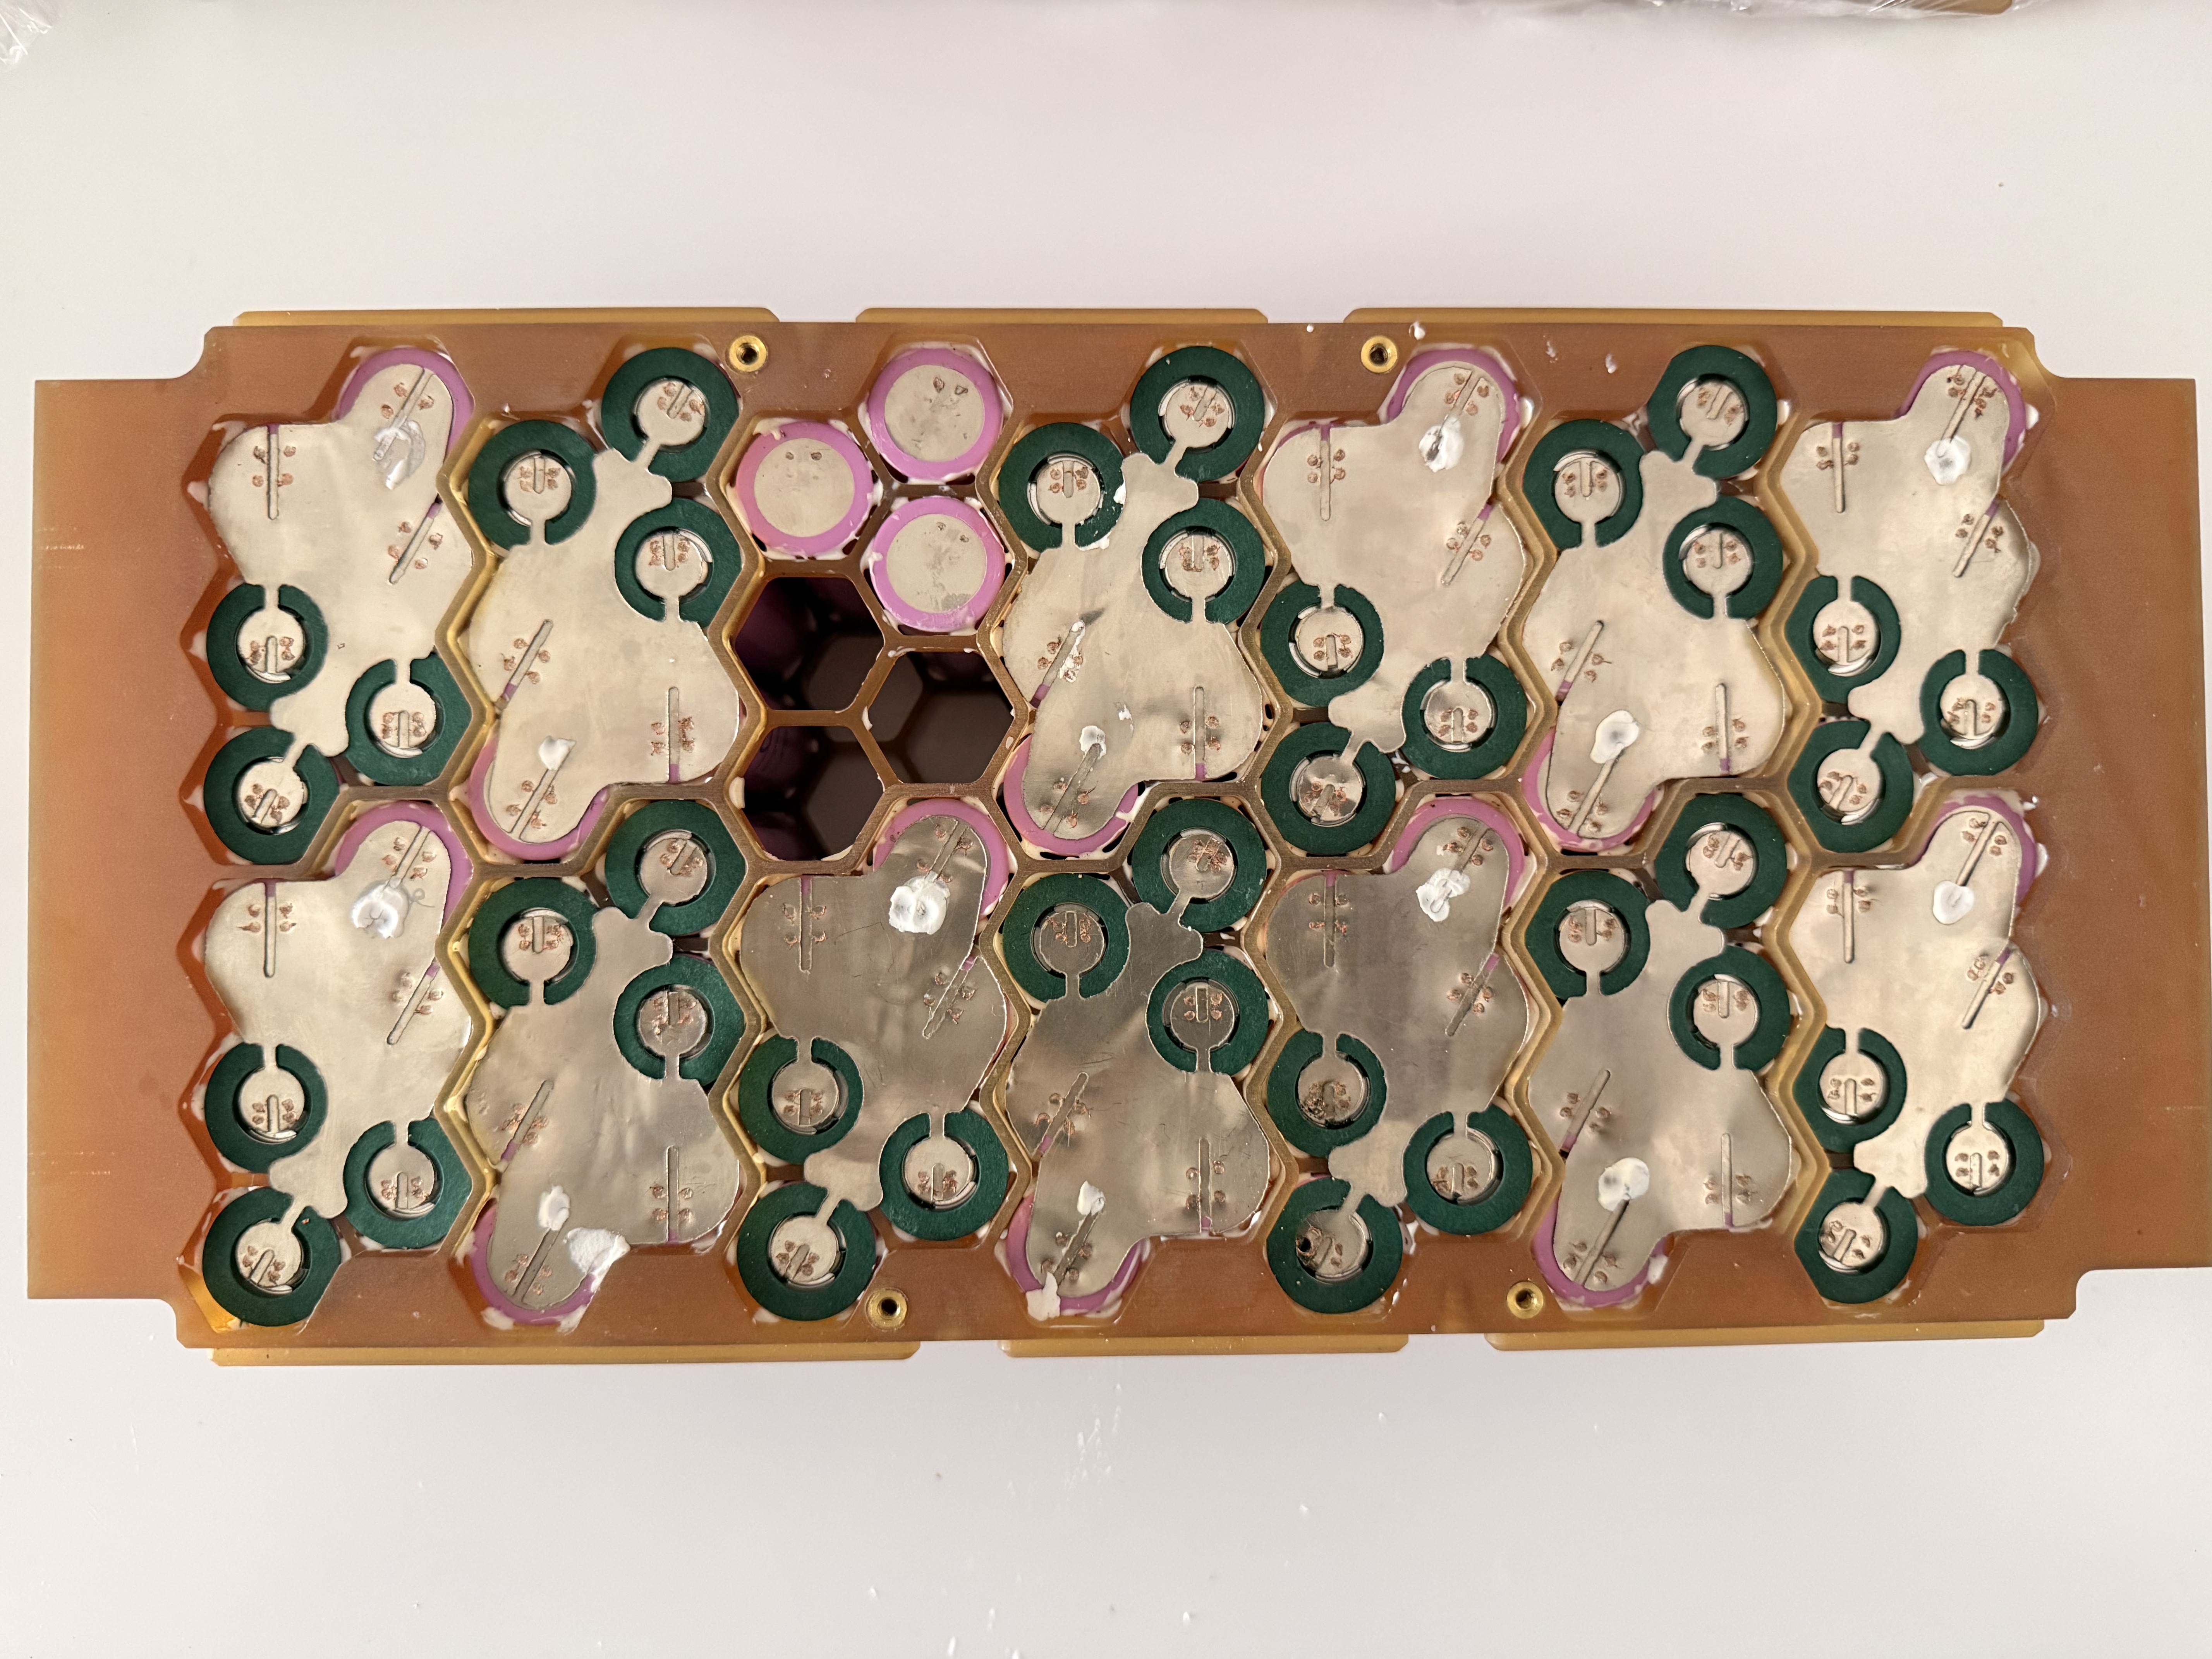
Spot welding four times per cell, twice per side, was unnecessary. Slide 2 from the carousel revealed that the second weld would not consistently stick because current shunted through the first lower resistance weld.
Safety and Welding Plan
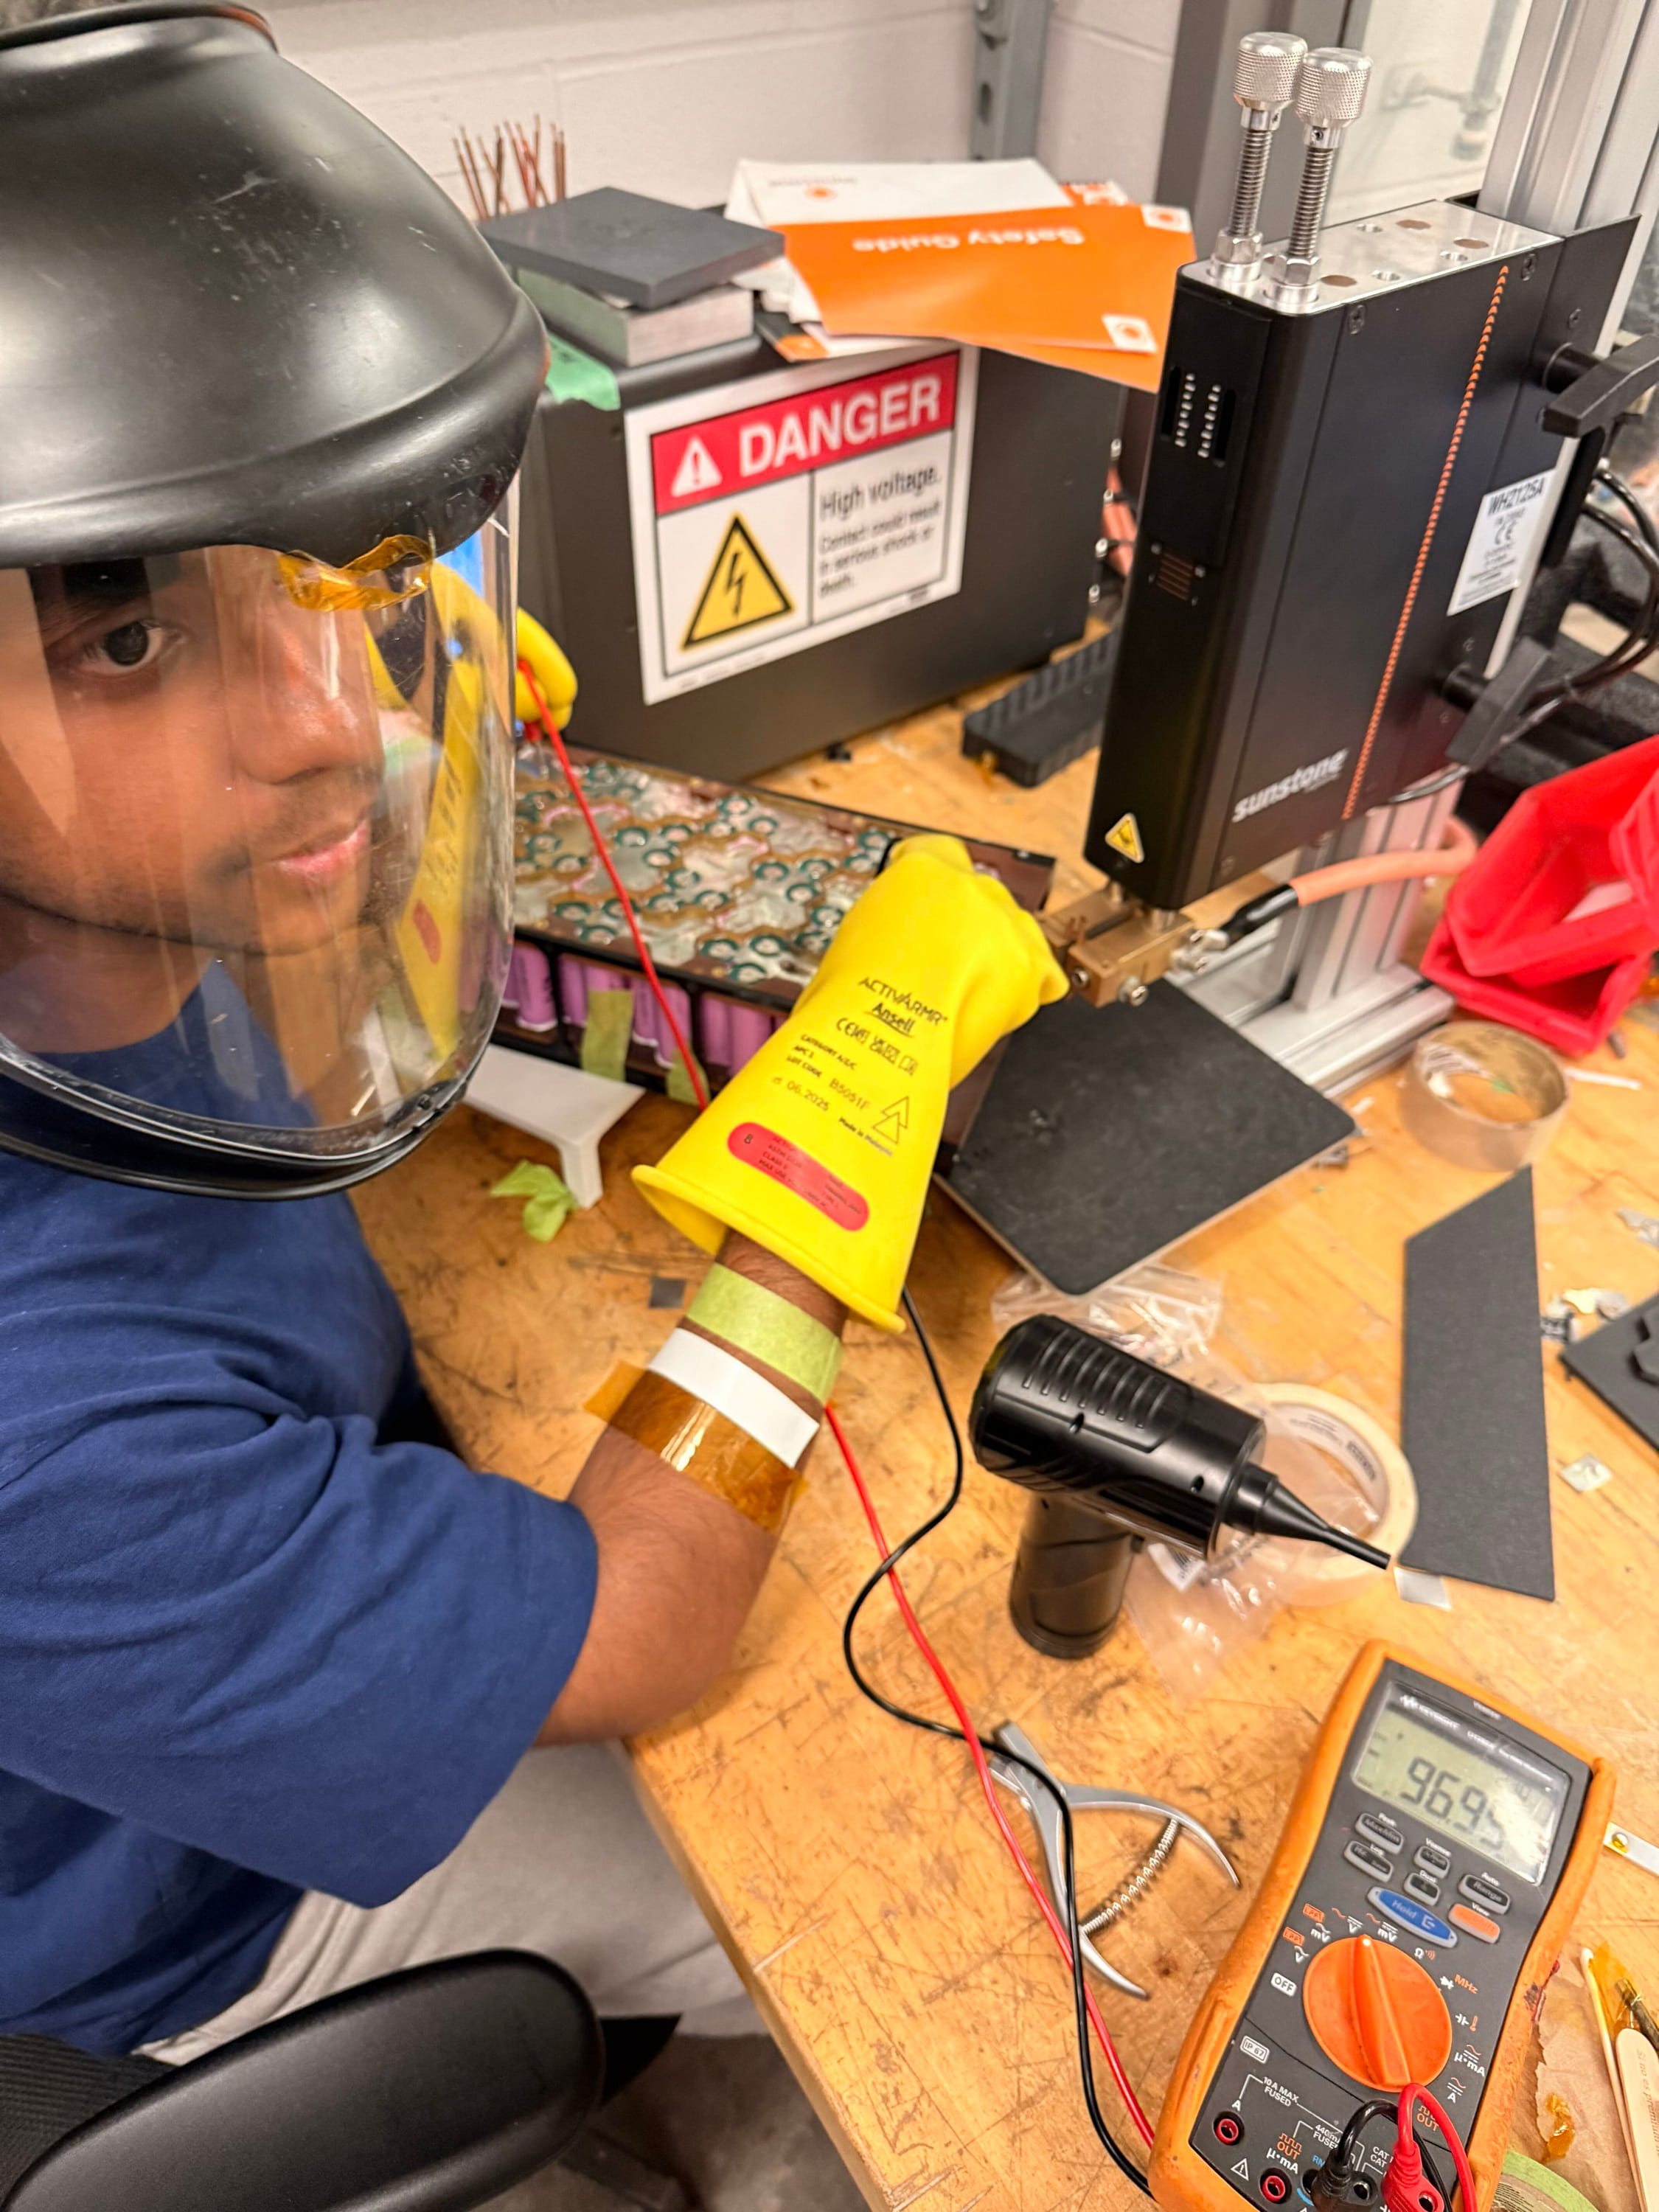
The following plan was used when testing a previously spot-welded cell that had been frozen for a minimum of 12 hours, thawed, and allowed to reach room temperature:
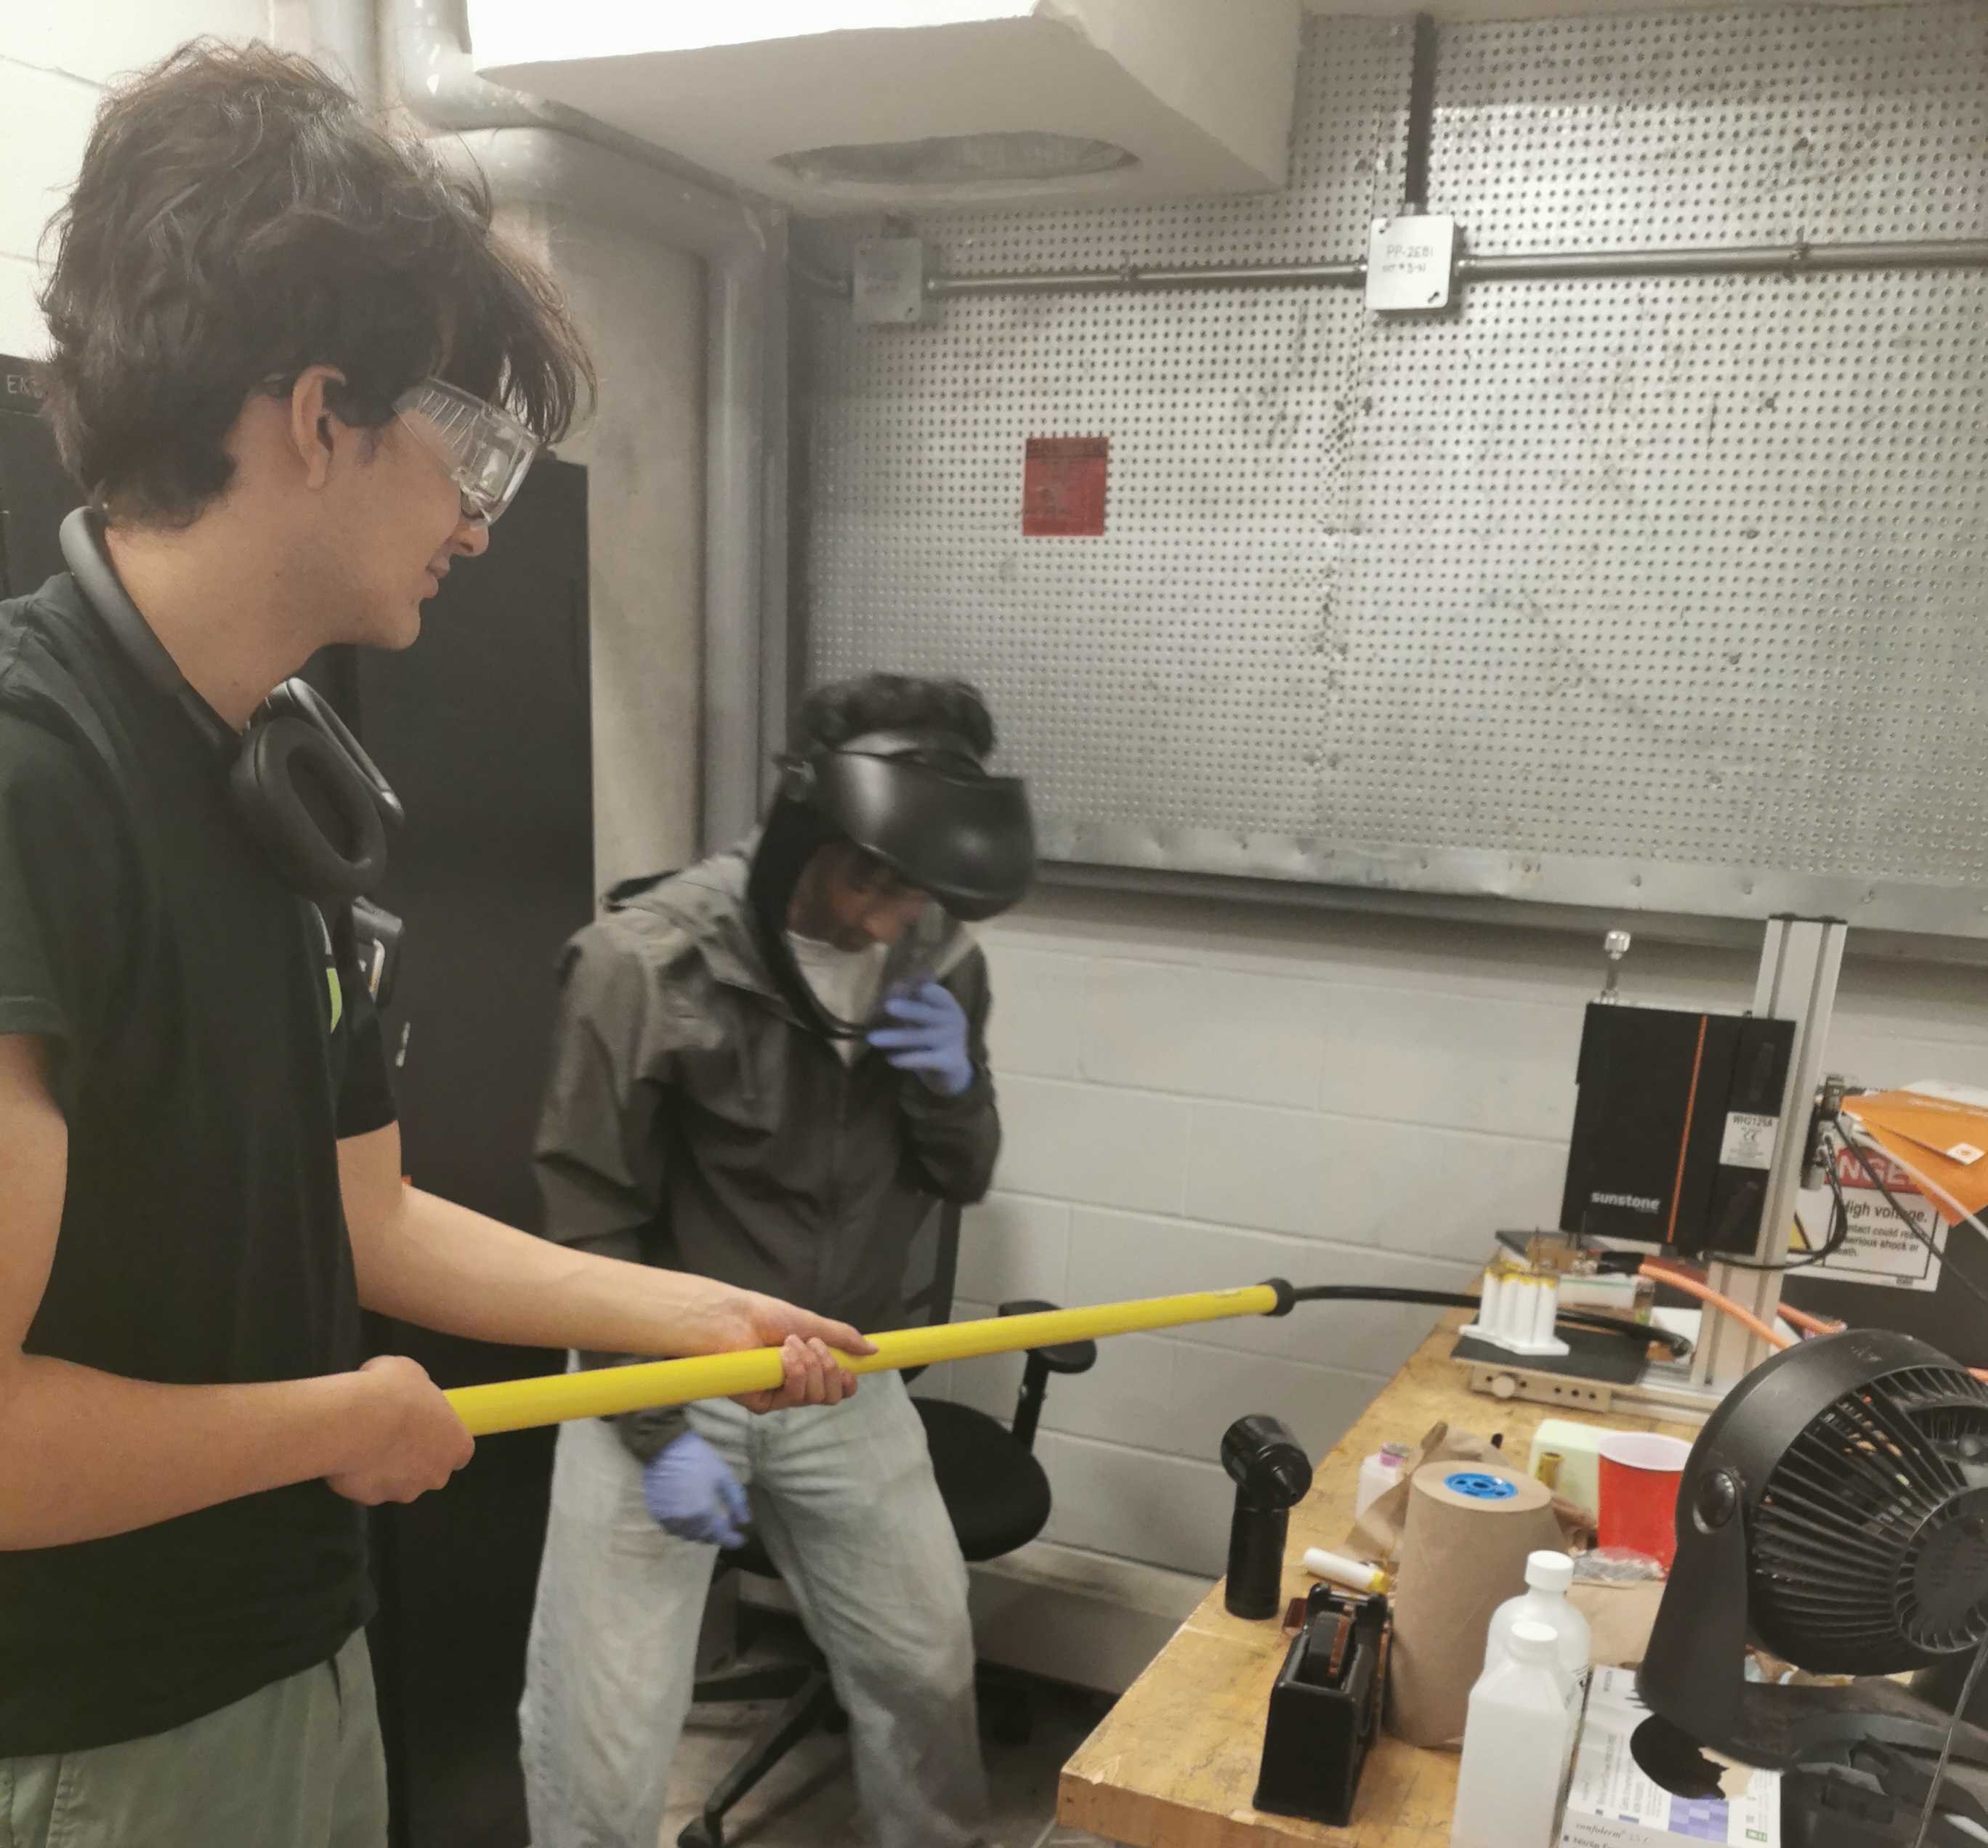
- Prepare a sand bucket, fire blanket, hot stick, thermal camera, and fire extinguisher. Wear long sleeves and appropriate PPE.
- Keep the welding table clean, with only the segment or test jig present.
- Clean the busbar with 1000-grit sandpaper to reduce high spots from previous welds.
- Clean the cells, busbars, and electrodes thoroughly. Use the short electrodes.
- Before energizing the welder, position and press down the busbar to confirm contact and verify that it is as flat as possible. Check its parallel spacing relative to the anti-shunt and the cell lips or edges.
- Weld as far back as possible to reduce the chance of sparks travelling toward the operator.
- If something goes wrong, use the hot stick to move the cell into the sand bucket and cover it with a fire blanket. If using the hot stick is not appropriate, cover the cell with the fire blanket and follow the emergency response procedure. setup.
Outcome
Everything went well with the test setup, so I proceeded to the real segments. The real segments went through with no hesitation, and I was able to rebuild the three segments containing dead cells. This completed the battery pack in time for competition.